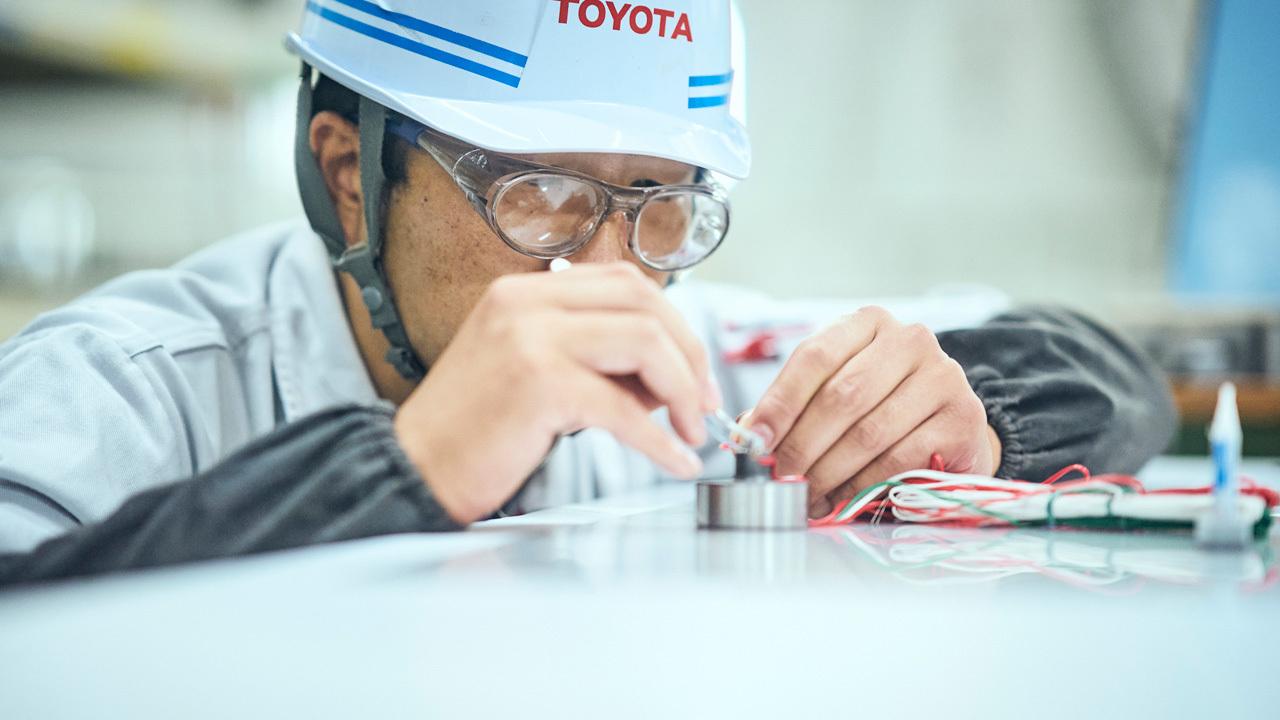
This two-part article takes a look at Takuya Okada, a master of the strain gauge whose unique expertise helps test the strength of chassis components.

Handwork still plays an important role in today’s car manufacturing, even as technology like AI and 3D printing offer more advanced methods. This series features the craftsmanship of Japanese monozukuri (making things) through interviews with Toyota’s car-making masters.
This is the first part of the article which shines the spotlight on Takuya Okada, a young master of the strain gauge who uses his unique methods and expertise to test the strength of chassis components at Toyota’s car production facilities.

#12 Takuya Okada, a master of the strain gauge: Part 1
Team Leader, Quality Assurance Team 4, Stamping Equipment Certification Section, Body Manufacturing Engineering Div., Tsutsumi Plant, Production Group, Toyota Motor Corporation
The strain gauge, an integral part of car production
Today’s manufactured goods are equipped with many ultra-compact sensors, which turn various physical changes into electrical signals. Smartphones are particularly packed with many such sensors, from accelerometers and gyroscopes to magnetometers, GPS sensors, and ambient light sensors. Many are designed to combine multiple functions.
However, these tiny sensors have only been around since the 1980s. At the same time, more basic standalone sensors have been used since the 1960s to make all kinds of measurements, The fields of manufacturing R&D and facility maintenance depend on these in particular.
The most basic and longest-serving of these are sensors known as strain gauges. On Toyota’s production floors, they are used to great effect by the company’s “master of the strain gauge,” Takuya Okada, who leads Quality Assurance Team 4, part of the Stamping Equipment Certification Section, Body Manufacturing Engineering Div. at Toyota’s Tsutsumi Plant.
Measuring internal forces with fingertip sized electronic devices
The words “strain gauge” probably bring to mind something like a ruler. However, the tool Okada handles is neither ruler-shaped nor is it by itself a measuring instrument.

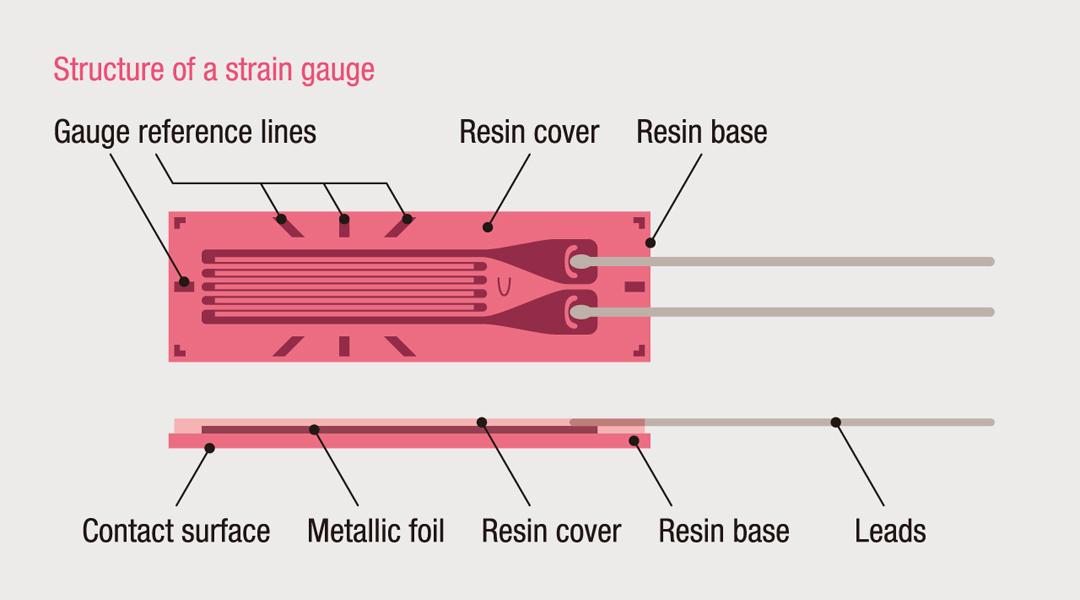
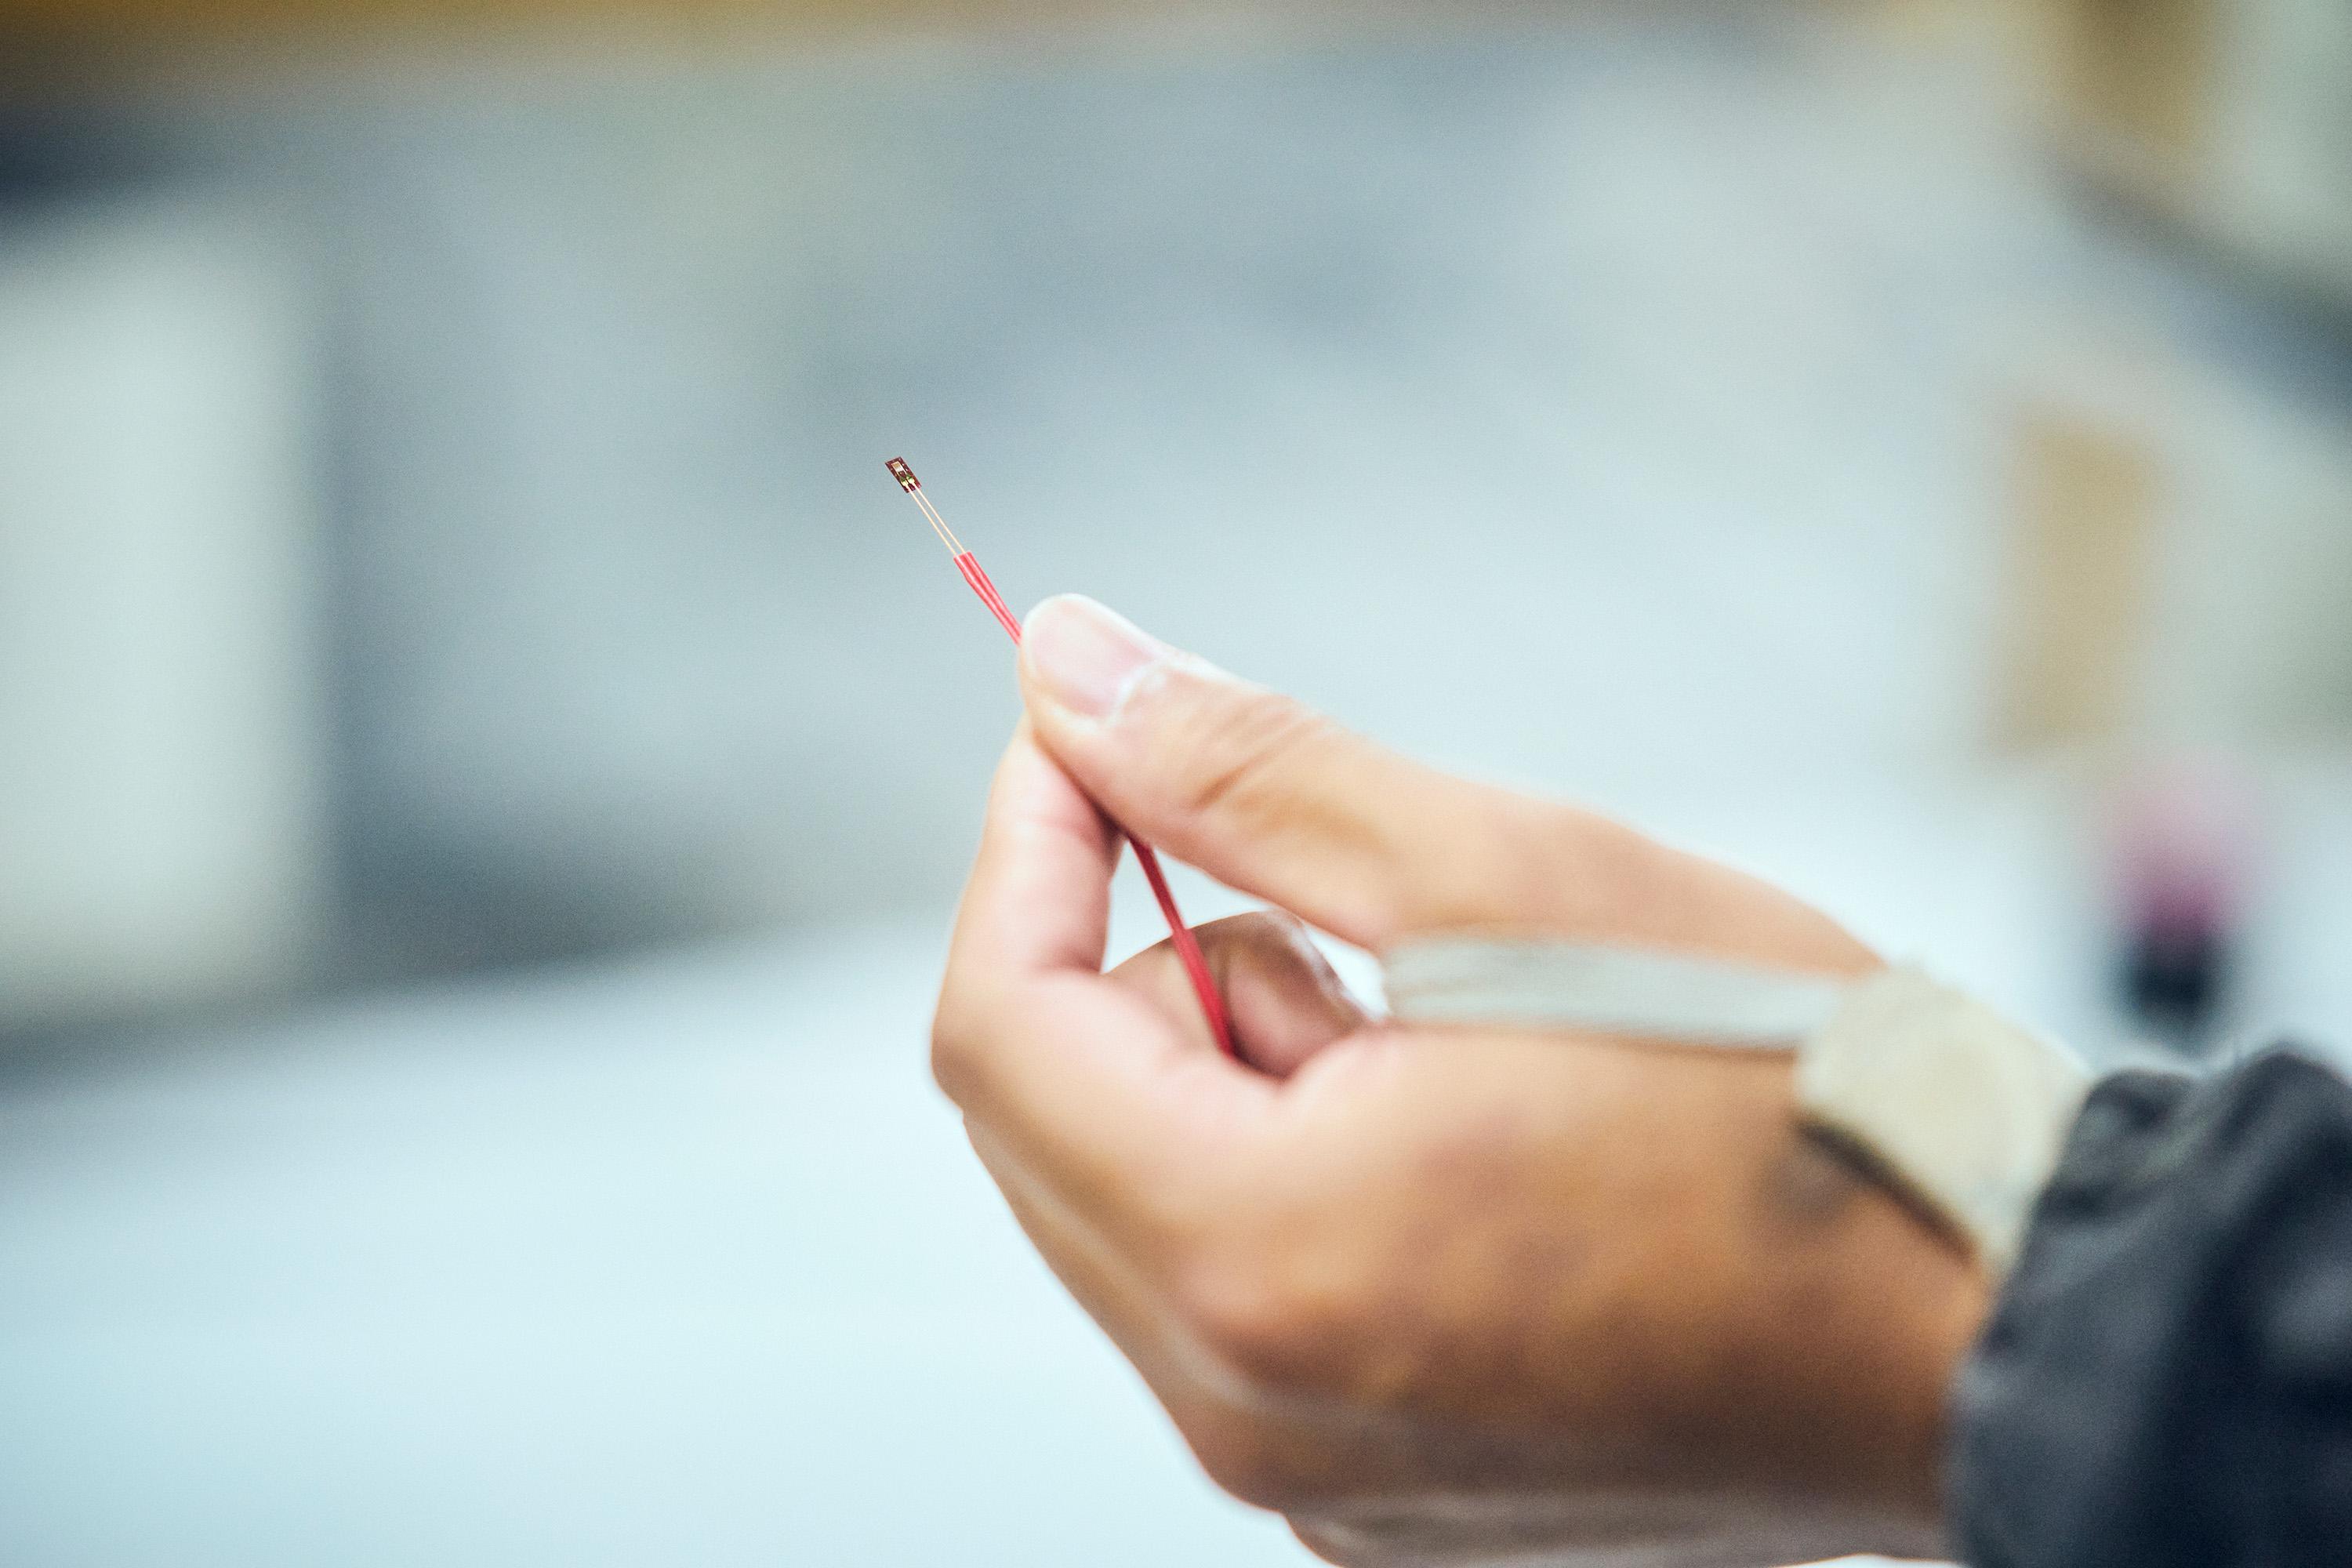
While various types of strain gauges exist, the most basic consists of a metallic foil set on a resin base and connected to two or three leads (conductive wire covered in polyester or vinyl). A gauge is typically a few millimeters to a dozen millimeters in length. The resin base is affixed directly to the material being measured with fast-acting adhesives.


And what do these strain gauges measure? Stresses occurring within objects.
When an external force is applied to an object—that is, when that object is pulled or compressed—resistance forces, or stresses, occur inside it to counterbalance those external forces. Provided these stresses sufficiently offset the external force, the object will not break. However, as soon as the force applied from outside exceeds the object’s internal stress, that object will be damaged. Stress also concentrates in notches, thinner sections, or other vulnerable parts of the object, which will be the first to break down.

When affixed to an object, the strain gauge acts as a sensor that detects such stresses as changes in electrical resistance. The resistance changes in response to the amount of strain (i.e. changes in shape or volume) these stresses cause in an object. Detecting, recording, and analyzing these changes in voltage makes it possible to measure stresses invisible to the human eye.
Measuring the strength of car parts awaiting mass production
So, what does Okada do with these strain gauges? He uses them to test the strength of parts that make up the structure of a vehicle, in particular the frame, body, and chassis, which are directly linked to the car’s safety. He uses strain gauges in these strength tests to measure and analyze the forces that a part can withstand.
“A vehicle’s frame is welded together from some 1,000 different metal parts, most of which are made by stamping. If the metal fractures due to inadequate strength, that could lead to an accident or make the car undrivable. The strength of chassis components in particular greatly impacts a vehicle’s safety, including its handling stability and protection for occupants during a collision. Cars are driven for more than a decade, sometimes clocking up hundreds of thousands of kilometers, so strength testing is crucial.”

Of course, for all such parts, strength is carefully factored in from a car’s design and development stage. Chassis components also undergo repeated strength testing by design and evaluation divisions during development. On top of this, parts are also thoroughly checked throughout the production process to ensure they are free from cracks, scratches, or other manufacturing defects.
Between the prototyping and mass production stages, however, part structures and fabrication methods vary, which also changes the strength of components. For this reason, Okada’s Body Manufacturing Engineering Div. has been strength-testing parts during the preparation phase as vehicles await mass production since the 1990s.
Does the current construction and fabrication method of a part provide the necessary strength? If not, how should it be designed and manufactured? Okada helps answer these questions by using his unique strain gauge expertise to conduct strength tests and set the conditions for mass production.
“The strength tests we perform assess components for mass production and as part of the customer’s vehicle. We test the strength of parts to ensure that, for as long as they are being used, they will not betray the trust that customers place in their cars.”
Improving mass-produced parts, establishing baselines for new technologies and materials
The Manufacturing Engineering Div. also draws on the results of these strength tests to optimize the strength of components, which helps make cars more affordable. For example, creating stamped parts out of sheets that are thicker than necessary will add to the car’s weight, potentially increasing the load on other components. In other words, lighter parts are better if they can be produced with the same strength and function. Unfortunately, some materials become stiffer and more prone to breaking when made thinner.
The strength measurements taken by Okada and his team are also vital in checking whether such new and improved parts have adequate strength and are free from other problems.
Another part of Okada’s job is to conduct baseline assessments, analyzing the strength and other properties of new materials and manufacturing methods before they are used to make parts. The data thus gathered is also used in future parts design and development.

“To do baseline assessments, we need to have a solid understanding of that method or material to decide what will be measured and how, under what conditions, to fulfill the test’s purpose. We need to revise our testing approach for each different fabrication method and material.”
Above all, Okada makes no compromises when it comes to the accuracy of measured values and the validity of his assessment.
“If we don’t perform the appropriate tests and accurately quantify the results, we can’t make proper assessments. Issues with the testing methods could lead to an incorrect evaluation. If that’s the case, you’re better off not testing at all and honestly saying that you don’t know.”
A boy who loved vehicles and mechanics
Before devoting his life to measurement, as a child, Takuya Okada loved all kinds of working vehicles. He was born in Ikeda, Osaka Prefecture, where his father ran a painting business.
Okada’s household had no shortage of cars and motorbikes, from his father’s mid-sized sedan and mini work truck to his mother’s compact car and his sister’s scooter. The Okada home also had a shed filled with the various machines his father used for painting.
“I liked taking those machines apart by myself and seeing the mechanisms inside. As for the initial electronics success that led me down this path, that was probably in first grade. We had a TV set at home without an antenna, and when I connected a nearby wire to the antenna terminal the picture came on. That’s where it began.”

Okada went on to study electrical engineering at a technical high school, which awakened his fascination with electronic circuits. This set him on the path to becoming a master of the strain gauge. After graduation, however, he hoped to follow his childhood love of vehicles into a career at a manufacturer.
“The school recommended finding work with either a power company or an automotive company. But given my love of bikes, my first choice was a motorcycle maker.”
Upon joining Toyota, Okada was assigned to the Body Manufacturing Engineering Div. where he now tests the strength of car chassis parts. Given his love of vehicles and desire to “work on making cars,” he initially found the new workplace underwhelming. As he got into the job, however, older colleagues taught him the importance of the car’s chassis and the depth of the work involved. The role allowed Okada to directly apply the things he had learned in his high school electrical course.
“Before coming here, I didn’t see what difference a millimeter could make. But car manufacturing is a world of micron precision, down to thousandths of a millimeter. My senior colleagues were strict. They told me, ’Don’t say things based on your own standards. You can’t decide on your own that something makes no difference. Fix that way of thinking and attitude before doing this job.’”
This is what made Okada a master of the strain gauge, dedicated to obtaining the most accurate measurements possible.
The second part of this article focuses more specifically on Okada’s workplace, his job, and the skills that make him a master.

