
This series explores the project to restore a first-generation Crown, a car that embodies Toyota's origins. Part 7 follows the veterans and junior staff who took on the challenge of creating decorative parts and lamps.
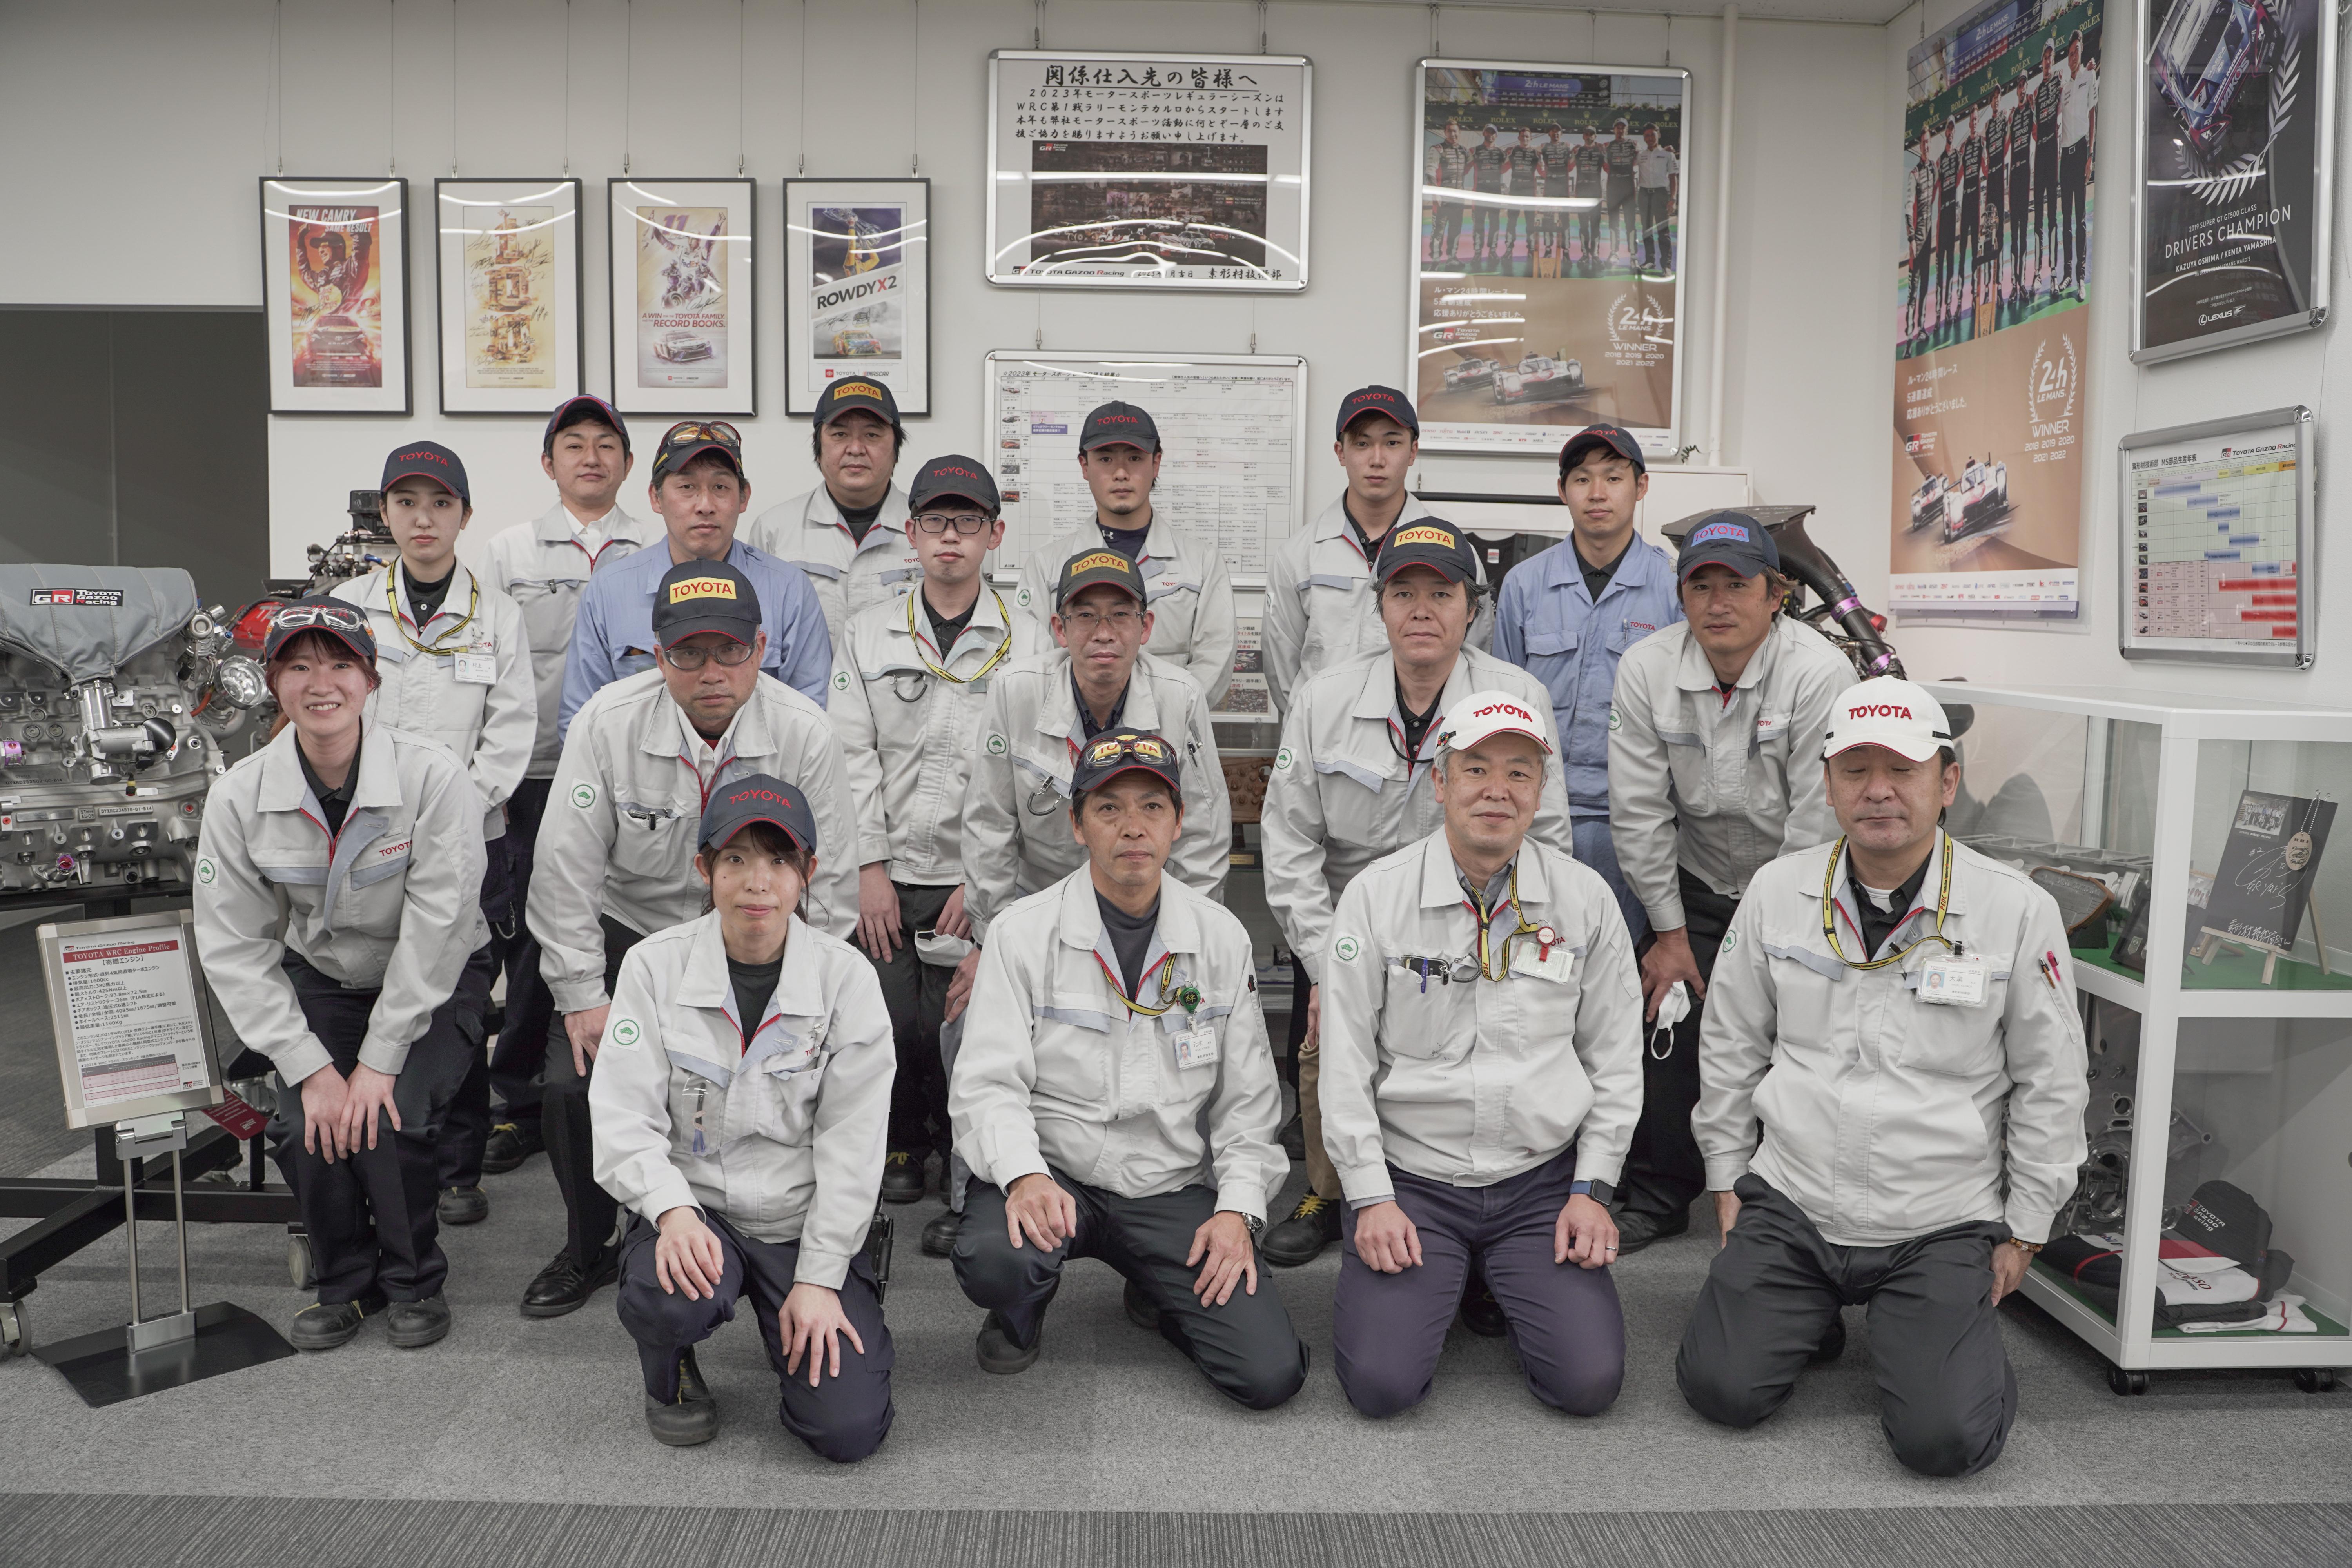
A project to restore a first-generation Crown started in the spring of 2022 at the Motomachi Plant, bringing together a diverse group of skilled members.
This series closes in on their restoration efforts.
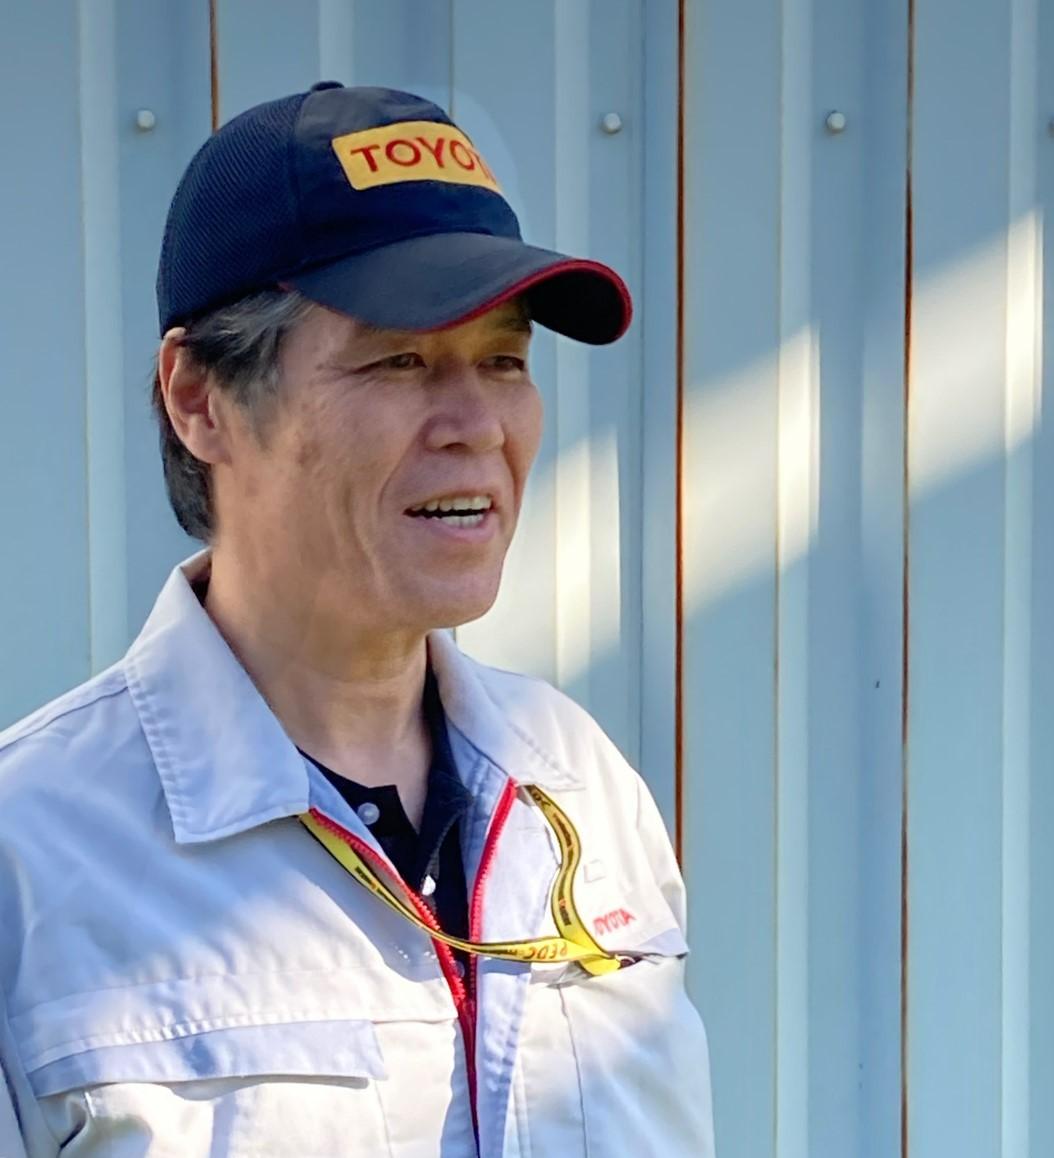
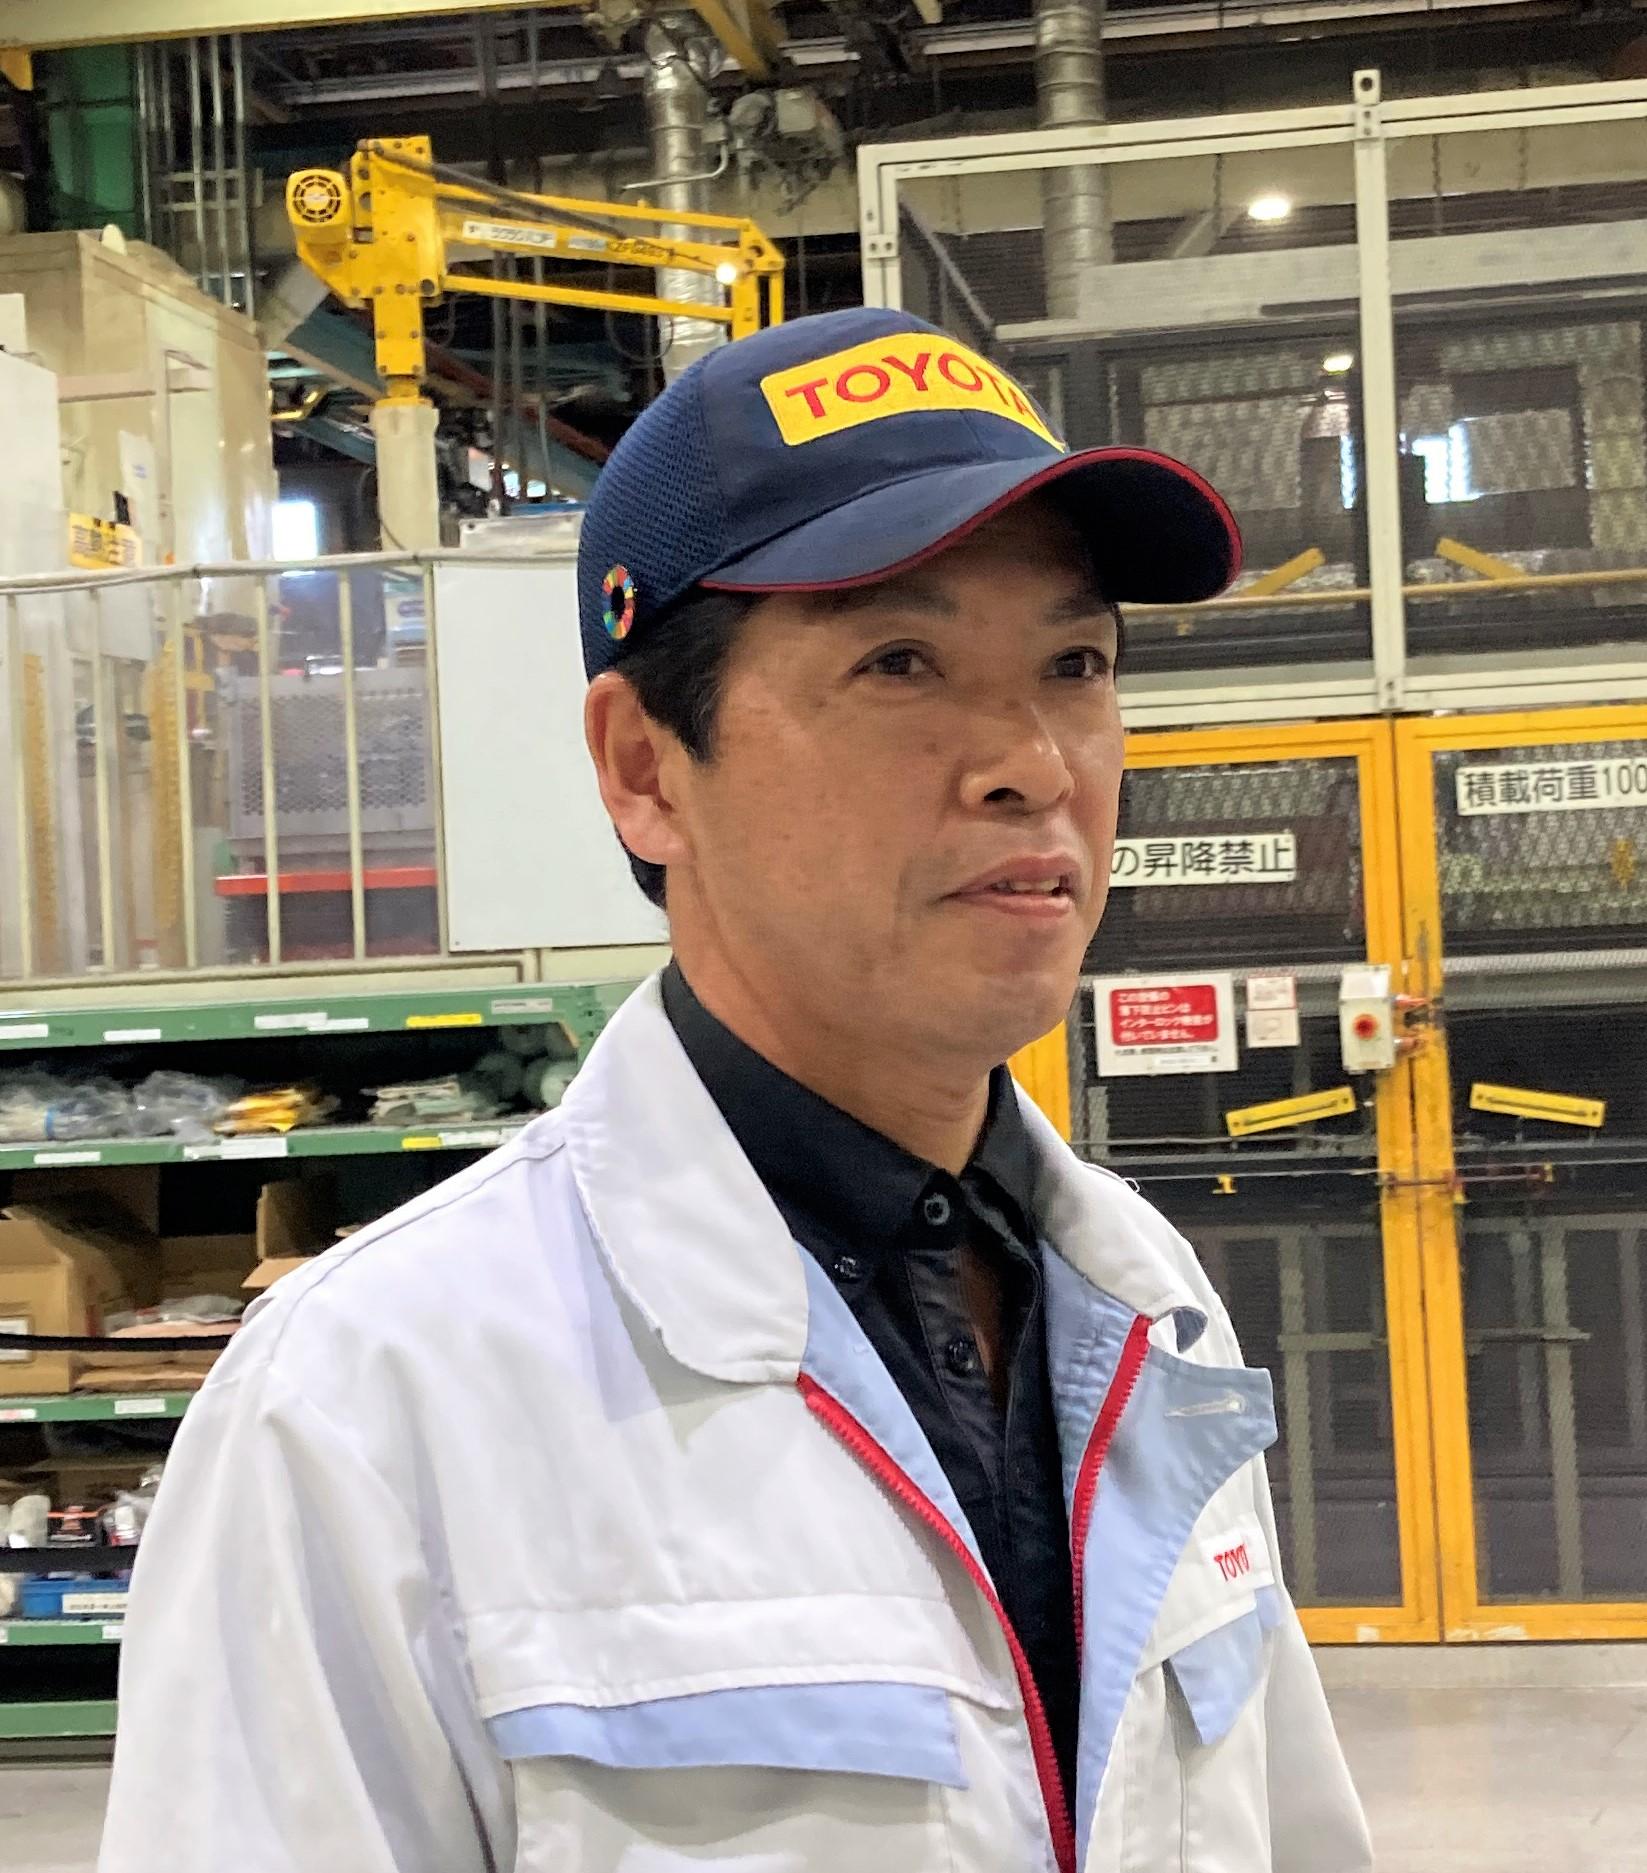
This seventh article focuses on making lamp parts and the first-generation Crown’s iconic interior and exterior metal trim. We share the efforts of materials team leader Shuji Shudo, project member Shinji Tanaka, and the junior Raw Material Development Division staff who were enlisted to broaden their monozukuri experience.
Veteran and young employees tackle monozukuri from scratch
Toyota’s first-generation Crown restoration project members were all highly skilled and seasoned veteran technicians, qualified as Experts (EX) or Senior Experts (SX) within the company.
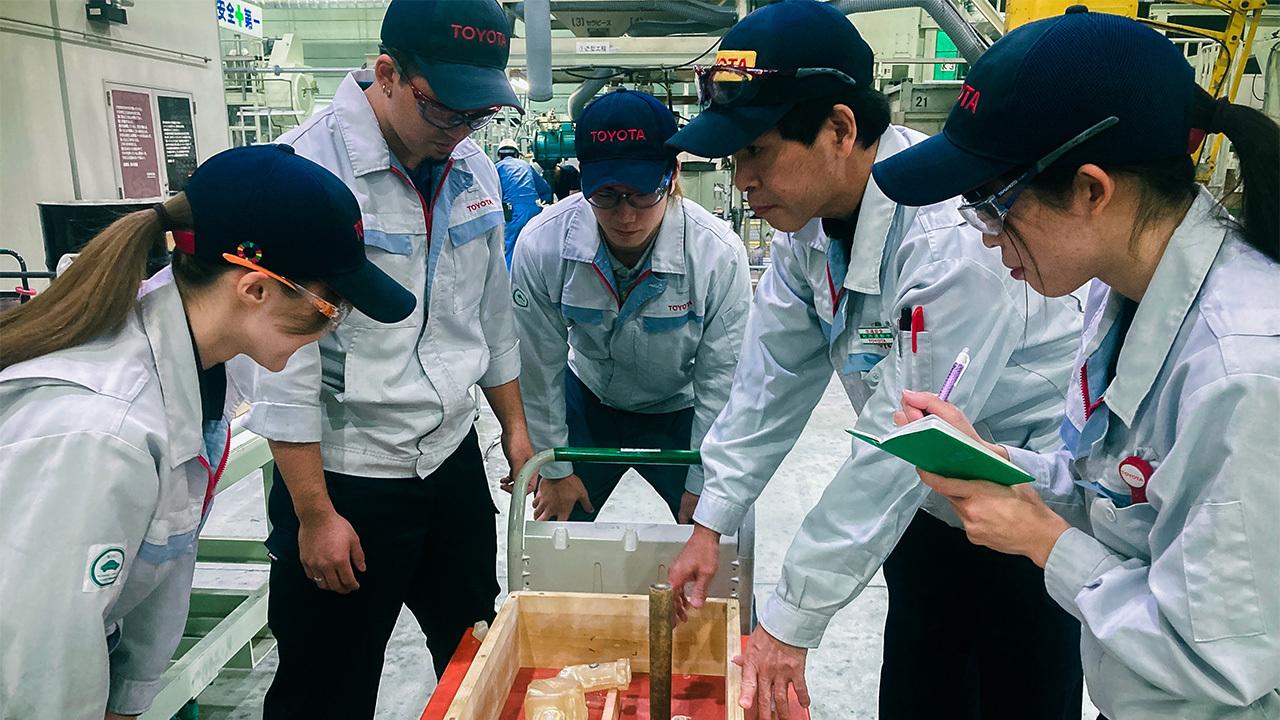
That said, the mid-career and junior employees who normally work alongside the team members also proved indispensable to the project. Indeed, their contribution, in terms of the skills transfer from veterans to younger generations, was one of the project’s key objectives from the outset.
In particular, one department whose junior staff shone and achieved great success in transmitting skills was the Raw Material Development Division, which harnesses a wide array of monozukuri technologies, including casting, forging, sintering, and heat treatment.
The Raw Material Development Division manufactures parts with various forms and functions by applying heat and force to materials ranging from metal and wood to stone, ceramics, rubber, glass, and plastics.
Shudo
I have worked almost exclusively with molds used for casting parts. The Raw Material Development Division is where these molds are made. Without the cooperation and hard work of the division’s junior staff, I don’t think I could have procured the interior and exterior parts I oversaw.
With this restoration, the team was aiming for a “better-than-new” quality that could only be achieved by the manufacturer that originally sent the car out into the world. Throughout the process, their biggest challenge lay in procuring the necessary parts.
Restoring the badly rusted body required the mastery of highly skilled craftspeople, together with a new metalworking technique known as incremental forming, to rebuild corroded panels.
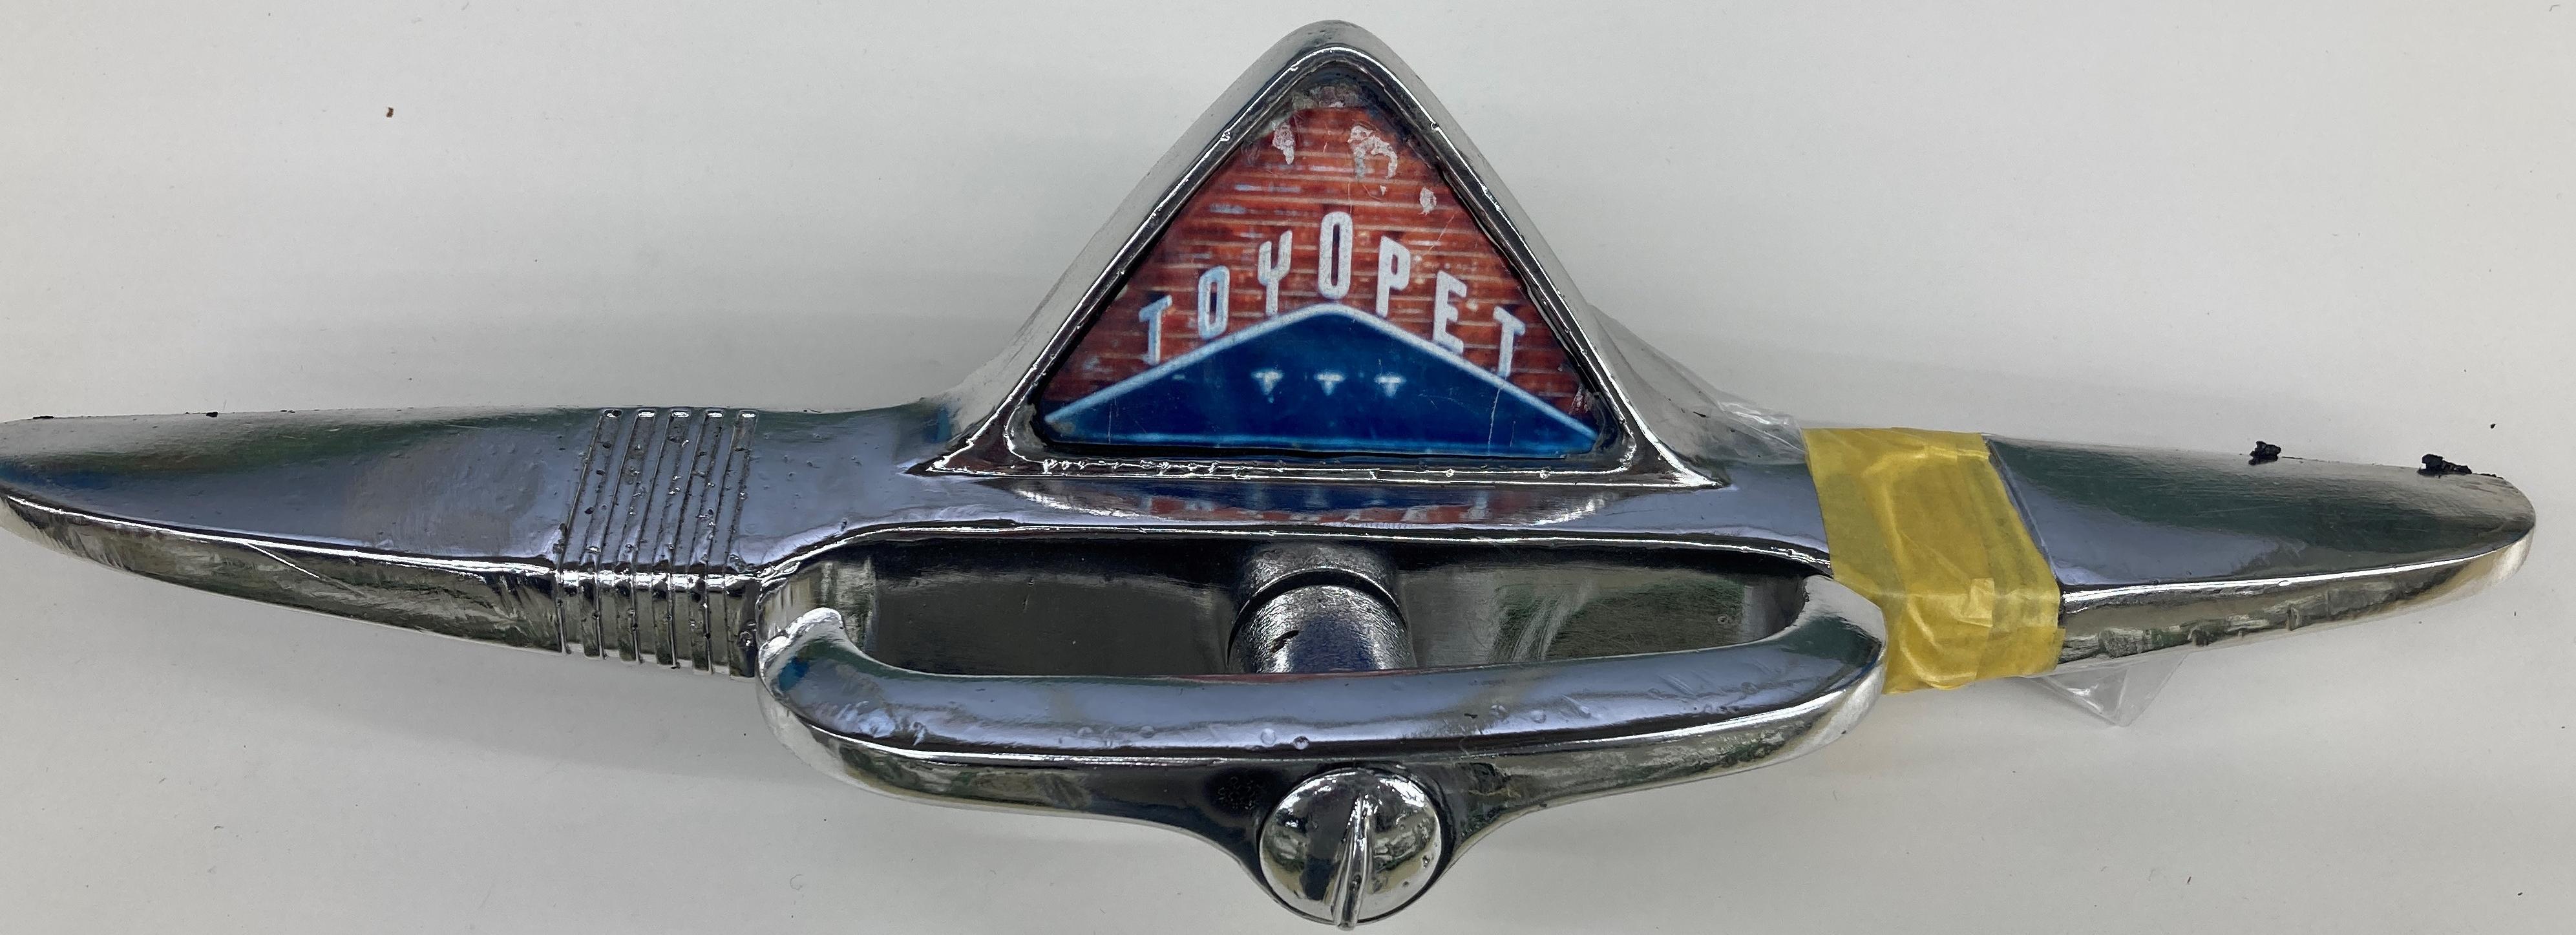
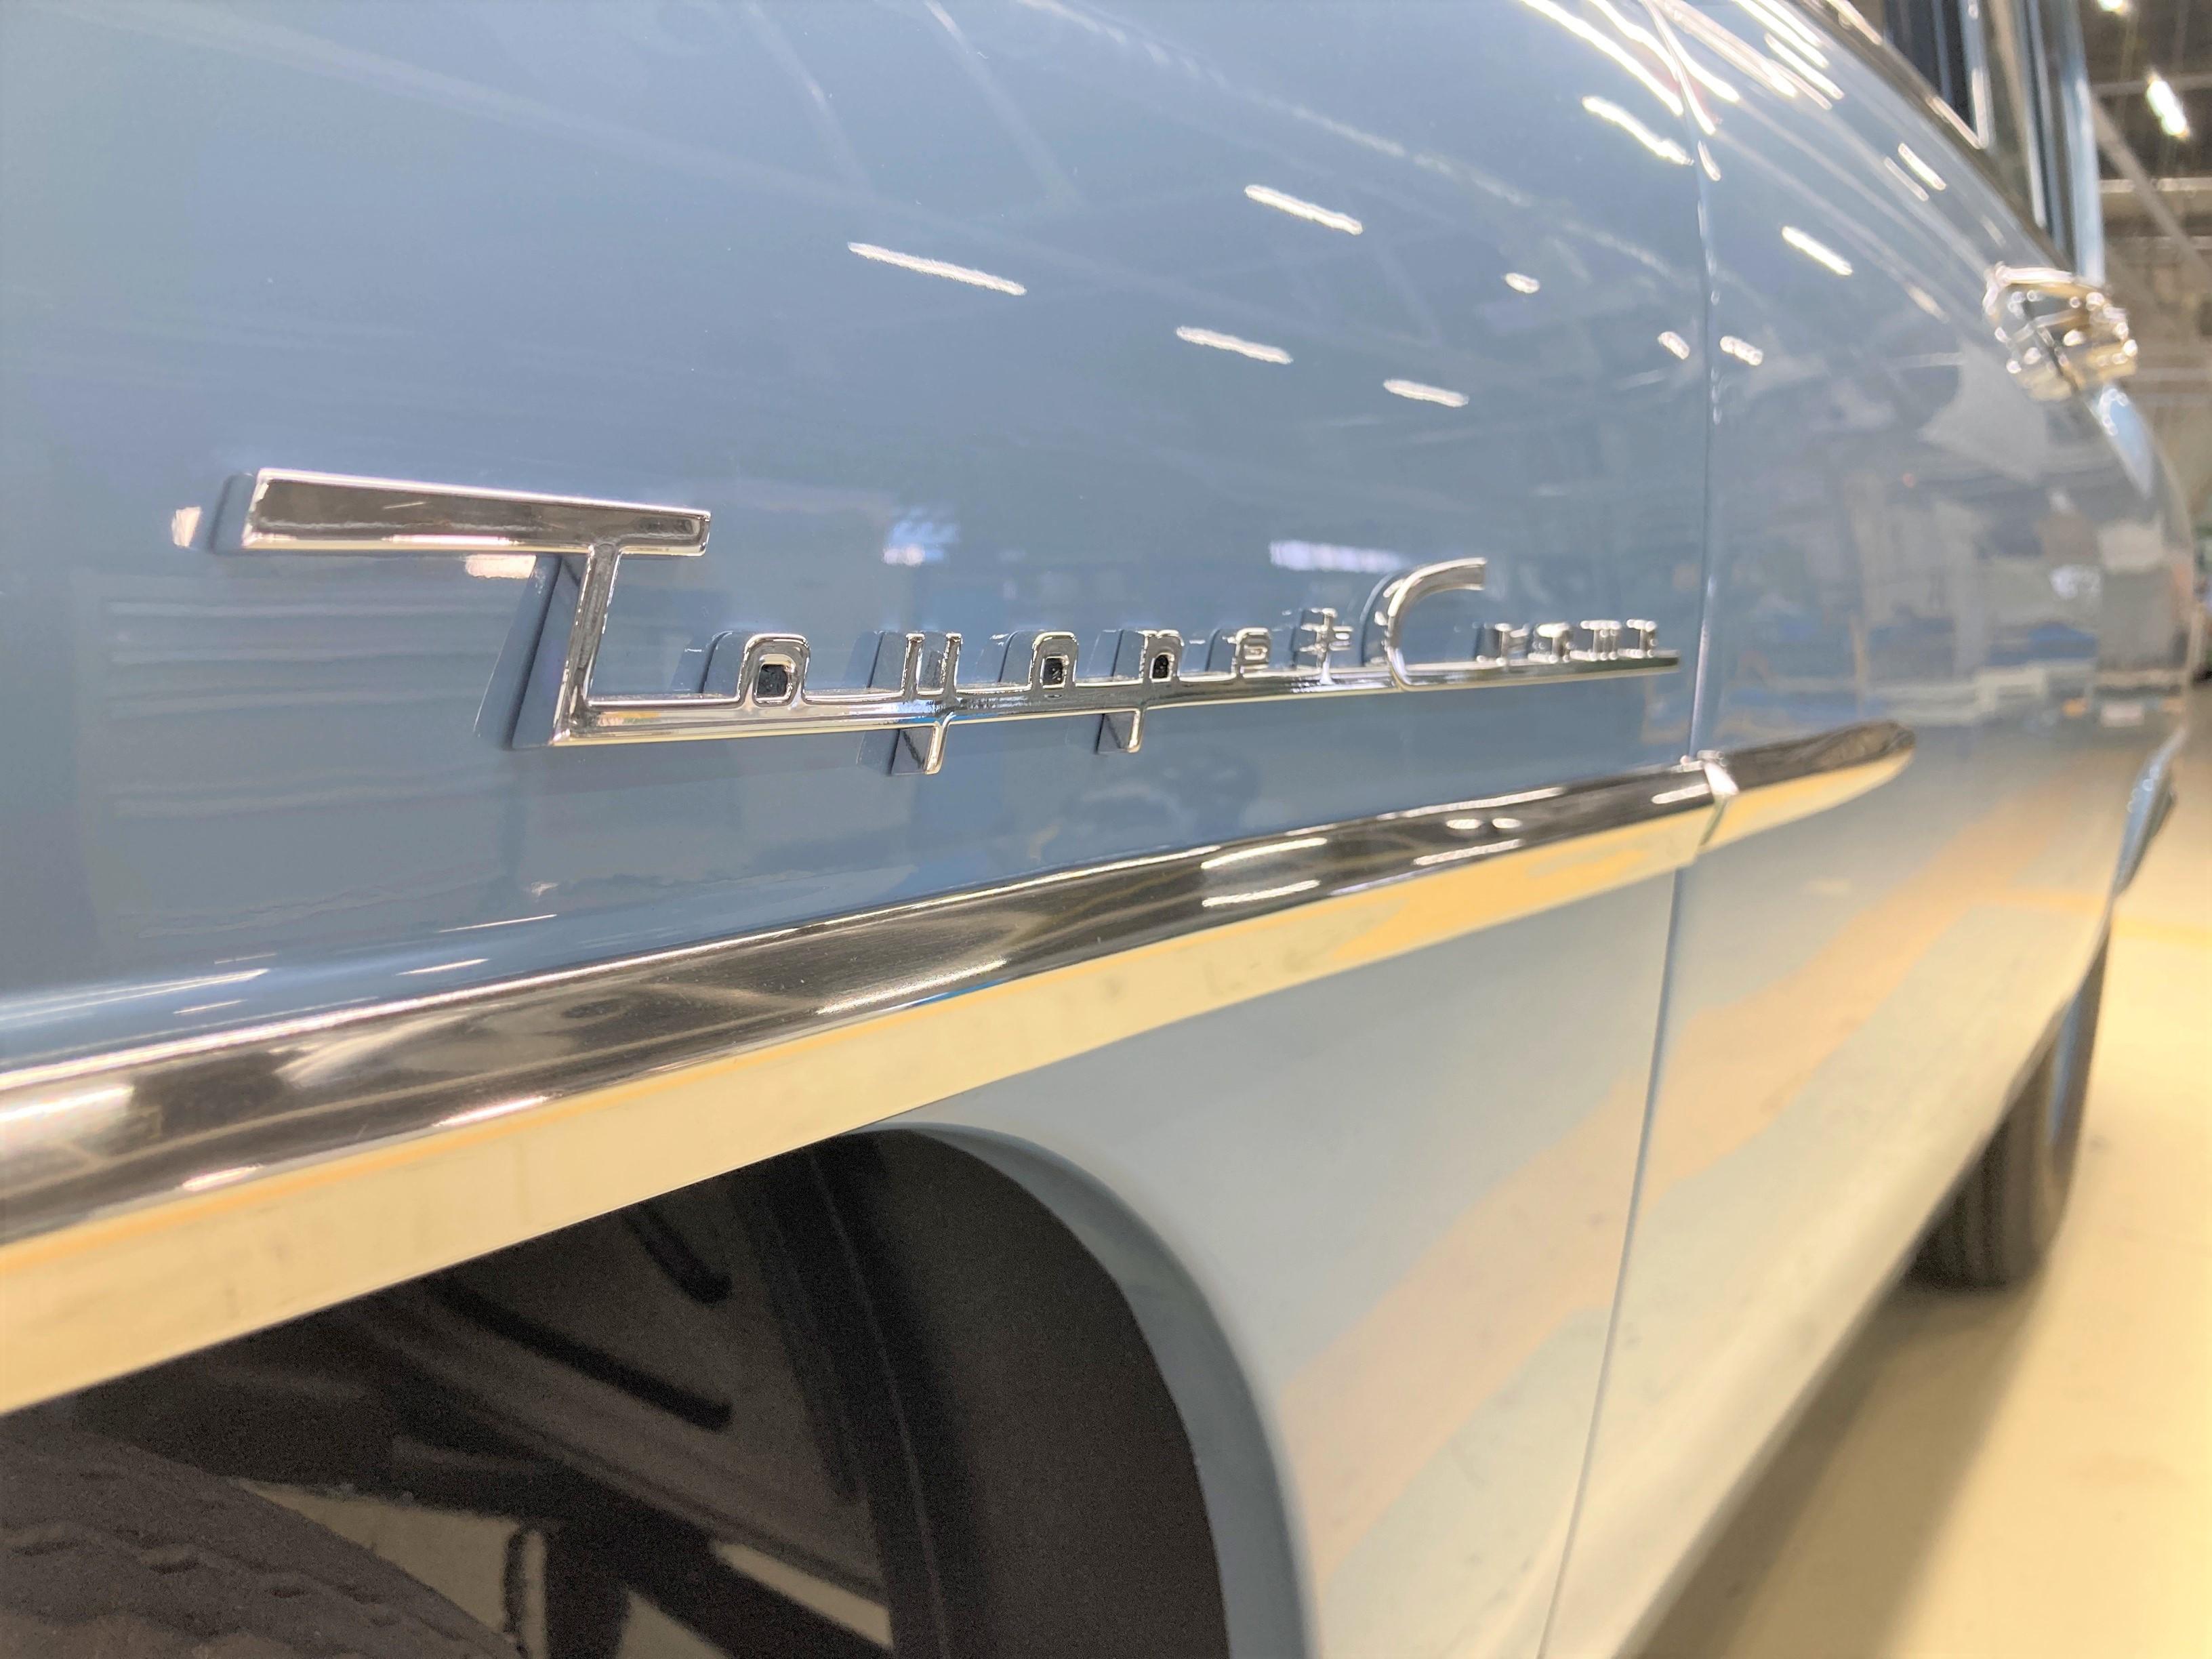
Similarly, the years and rust had also taken a severe toll on other parts such as the intake manifold (a key engine component), the front grille, side emblems, door handles, garnishes—including the gleaming door trim that wraps around the body—and the front/rear lamps that are essential safety elements.
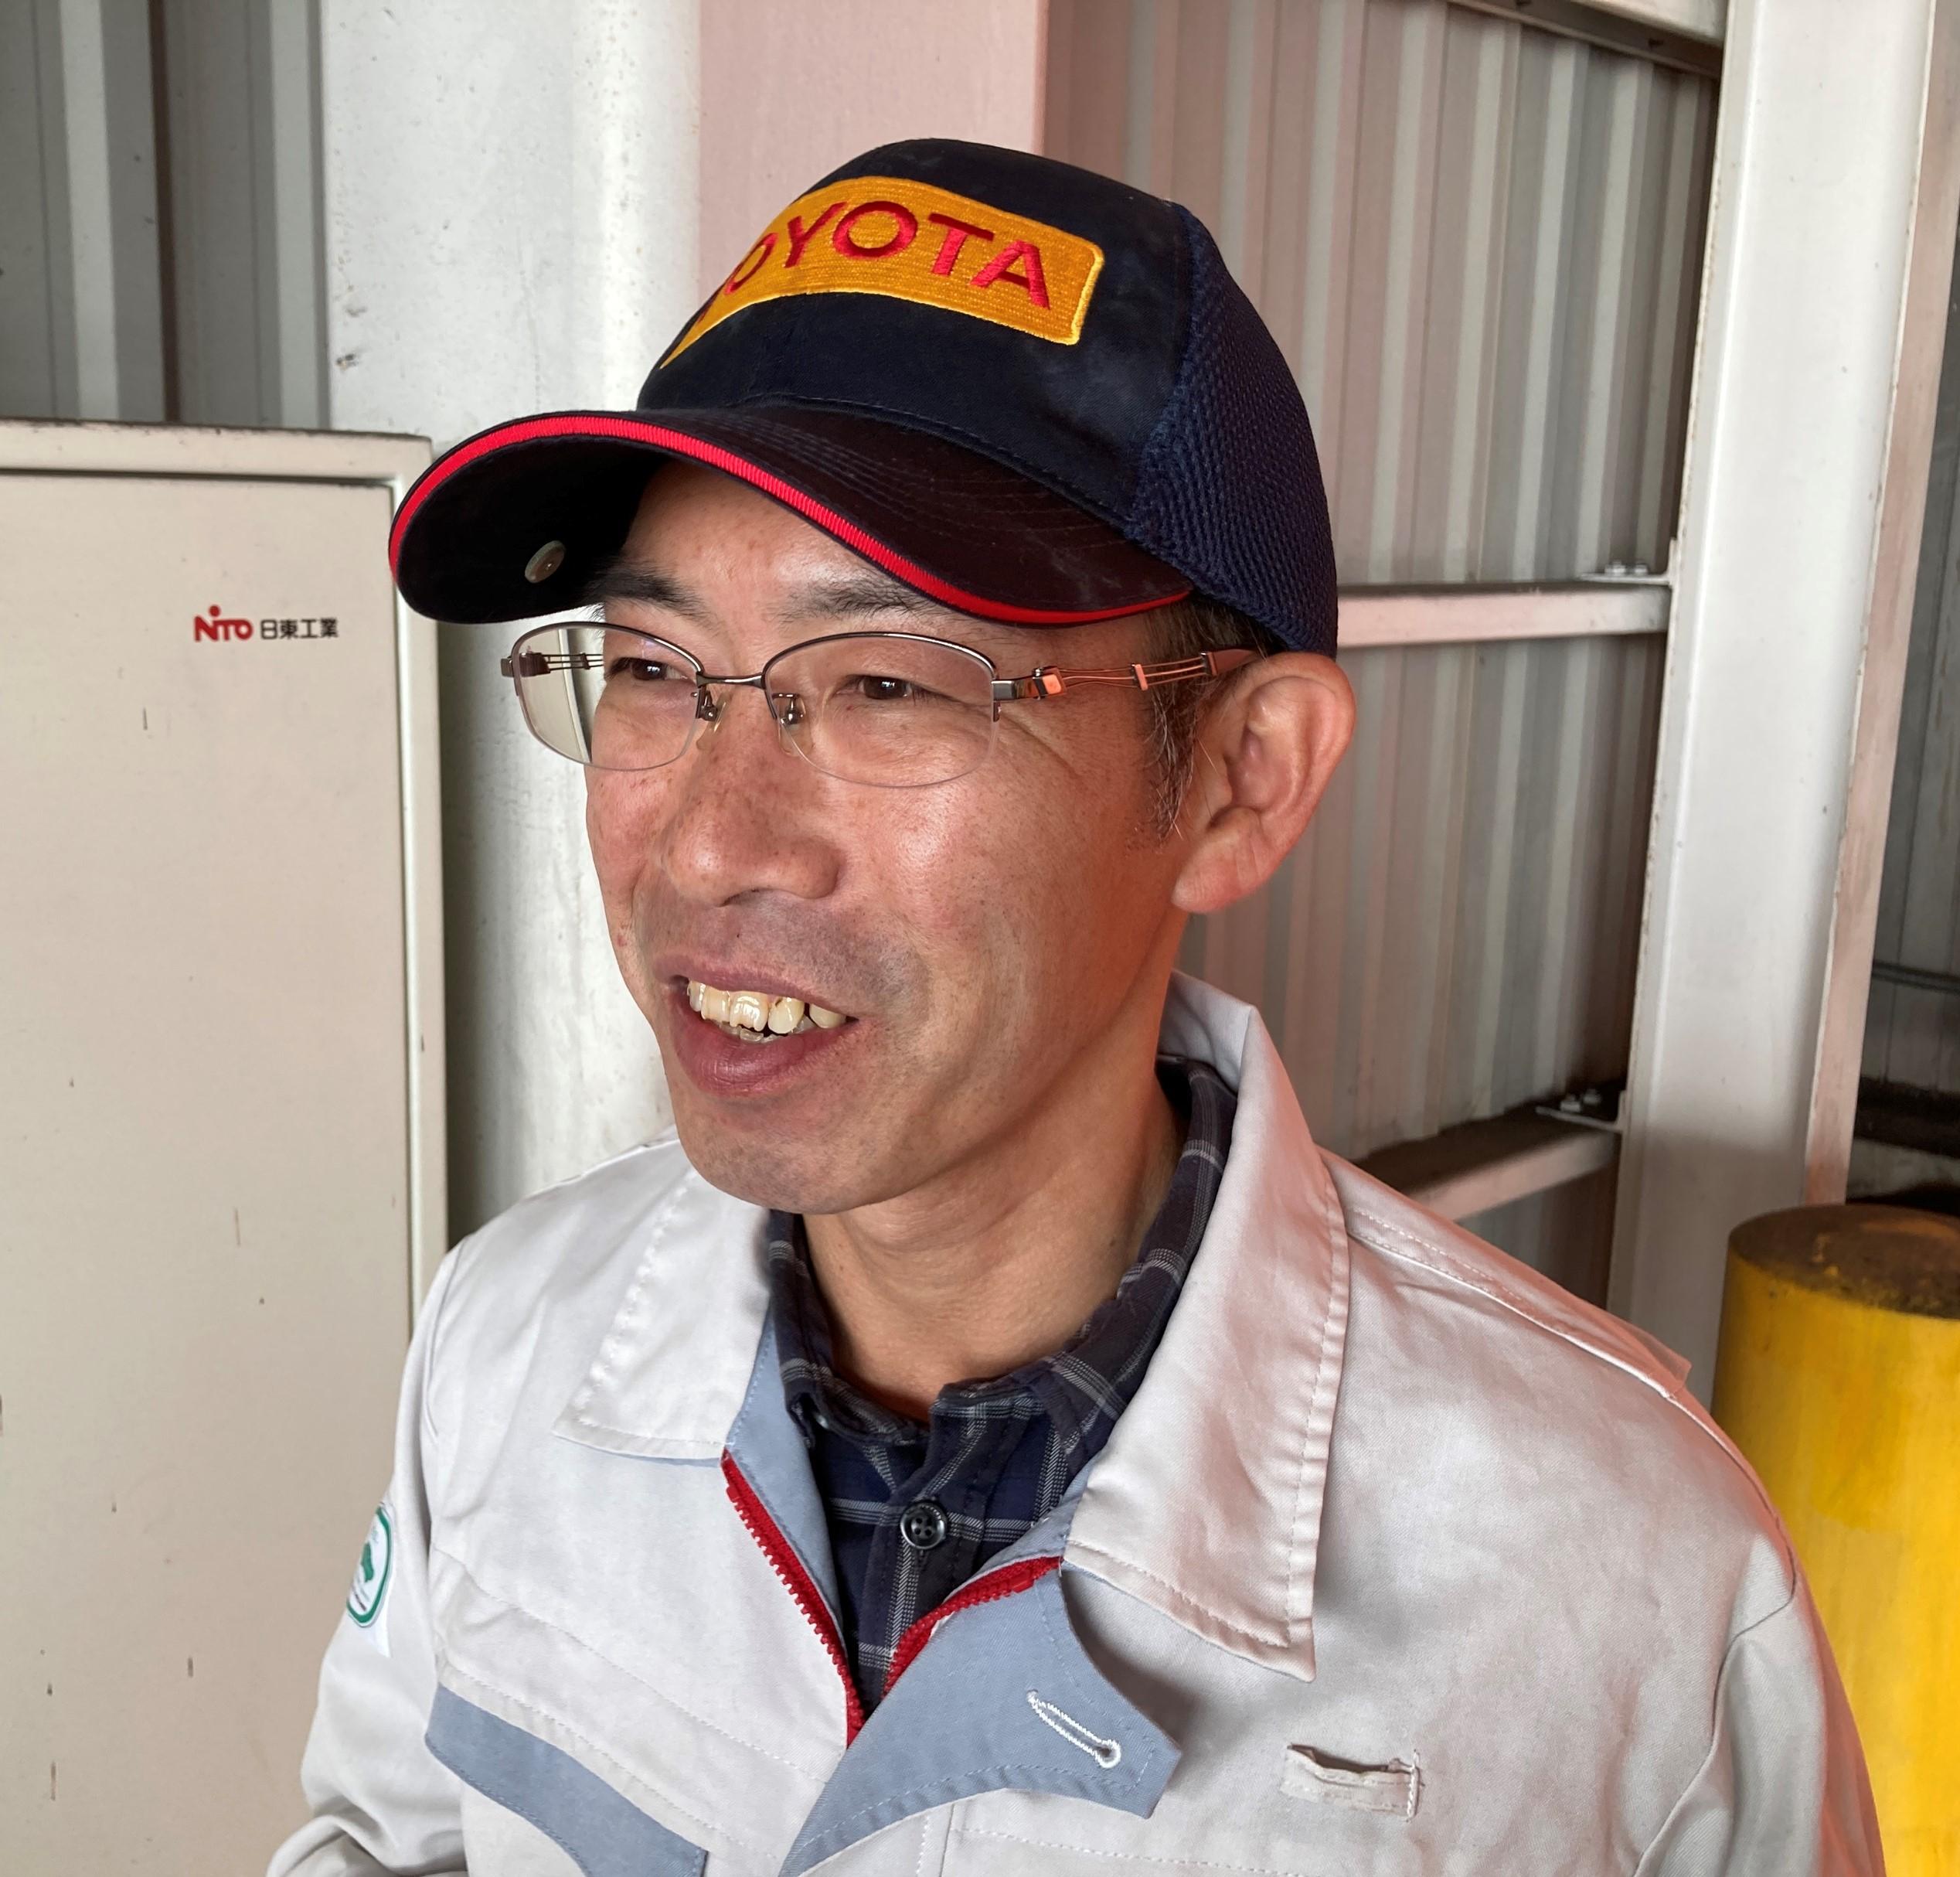
Tanaka
Unlike today’s cars, the original Crown has many decorative parts made of steel, such as the bumper, front grille, and interior trim. To fulfill the goals of this restoration, we needed to make these parts sparkle. We had no choice but to make them anew, including the lamps. That much was very clear.
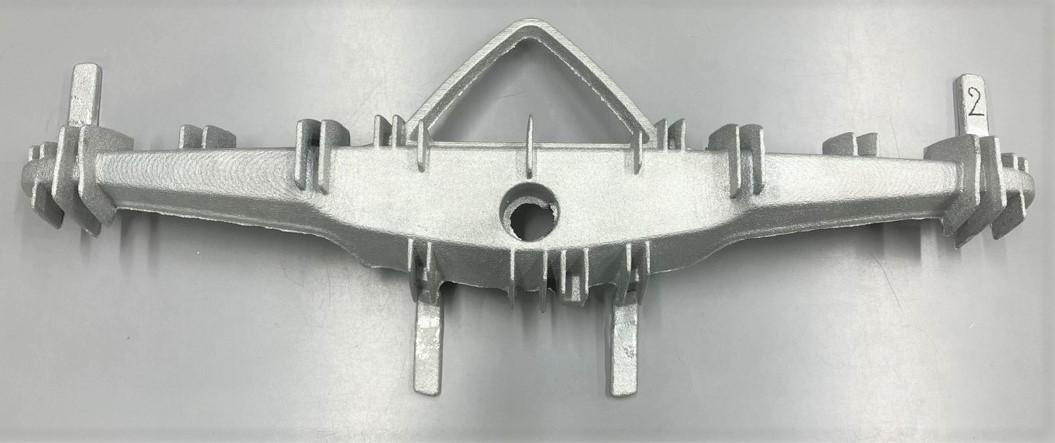
Casting yields desired forms in a single step
Shudo and Tanaka sought out Naomichi Terada, a die casting (metal casting) expert at the Raw Material Development Division. First, they asked him about using casting to make the intake manifold and related key engine parts.
Terada
When they first approached me, I still vividly remember how incredibly passionate Shudo and his team were about building quality parts.
I served strictly as a link, consulting with Shudo about how the Raw Material Development Division should handle this request.
The assignment fell to two of the division’s junior members: Shizuka Nagato and Seigo Yajima.
They were supported by SX Kiyohide Motoki, the casting specialist showcased in our Car Making Masters series, and EX Jun Ohashi.
Motoki
Initially, they wanted us to make around four parts in all, including the intake manifold and aluminum components. For the steel manifold, we had records from the Corona restoration around 17 or 18 years ago, so I figured we could use those plans (for the sand mold design).
Nagato
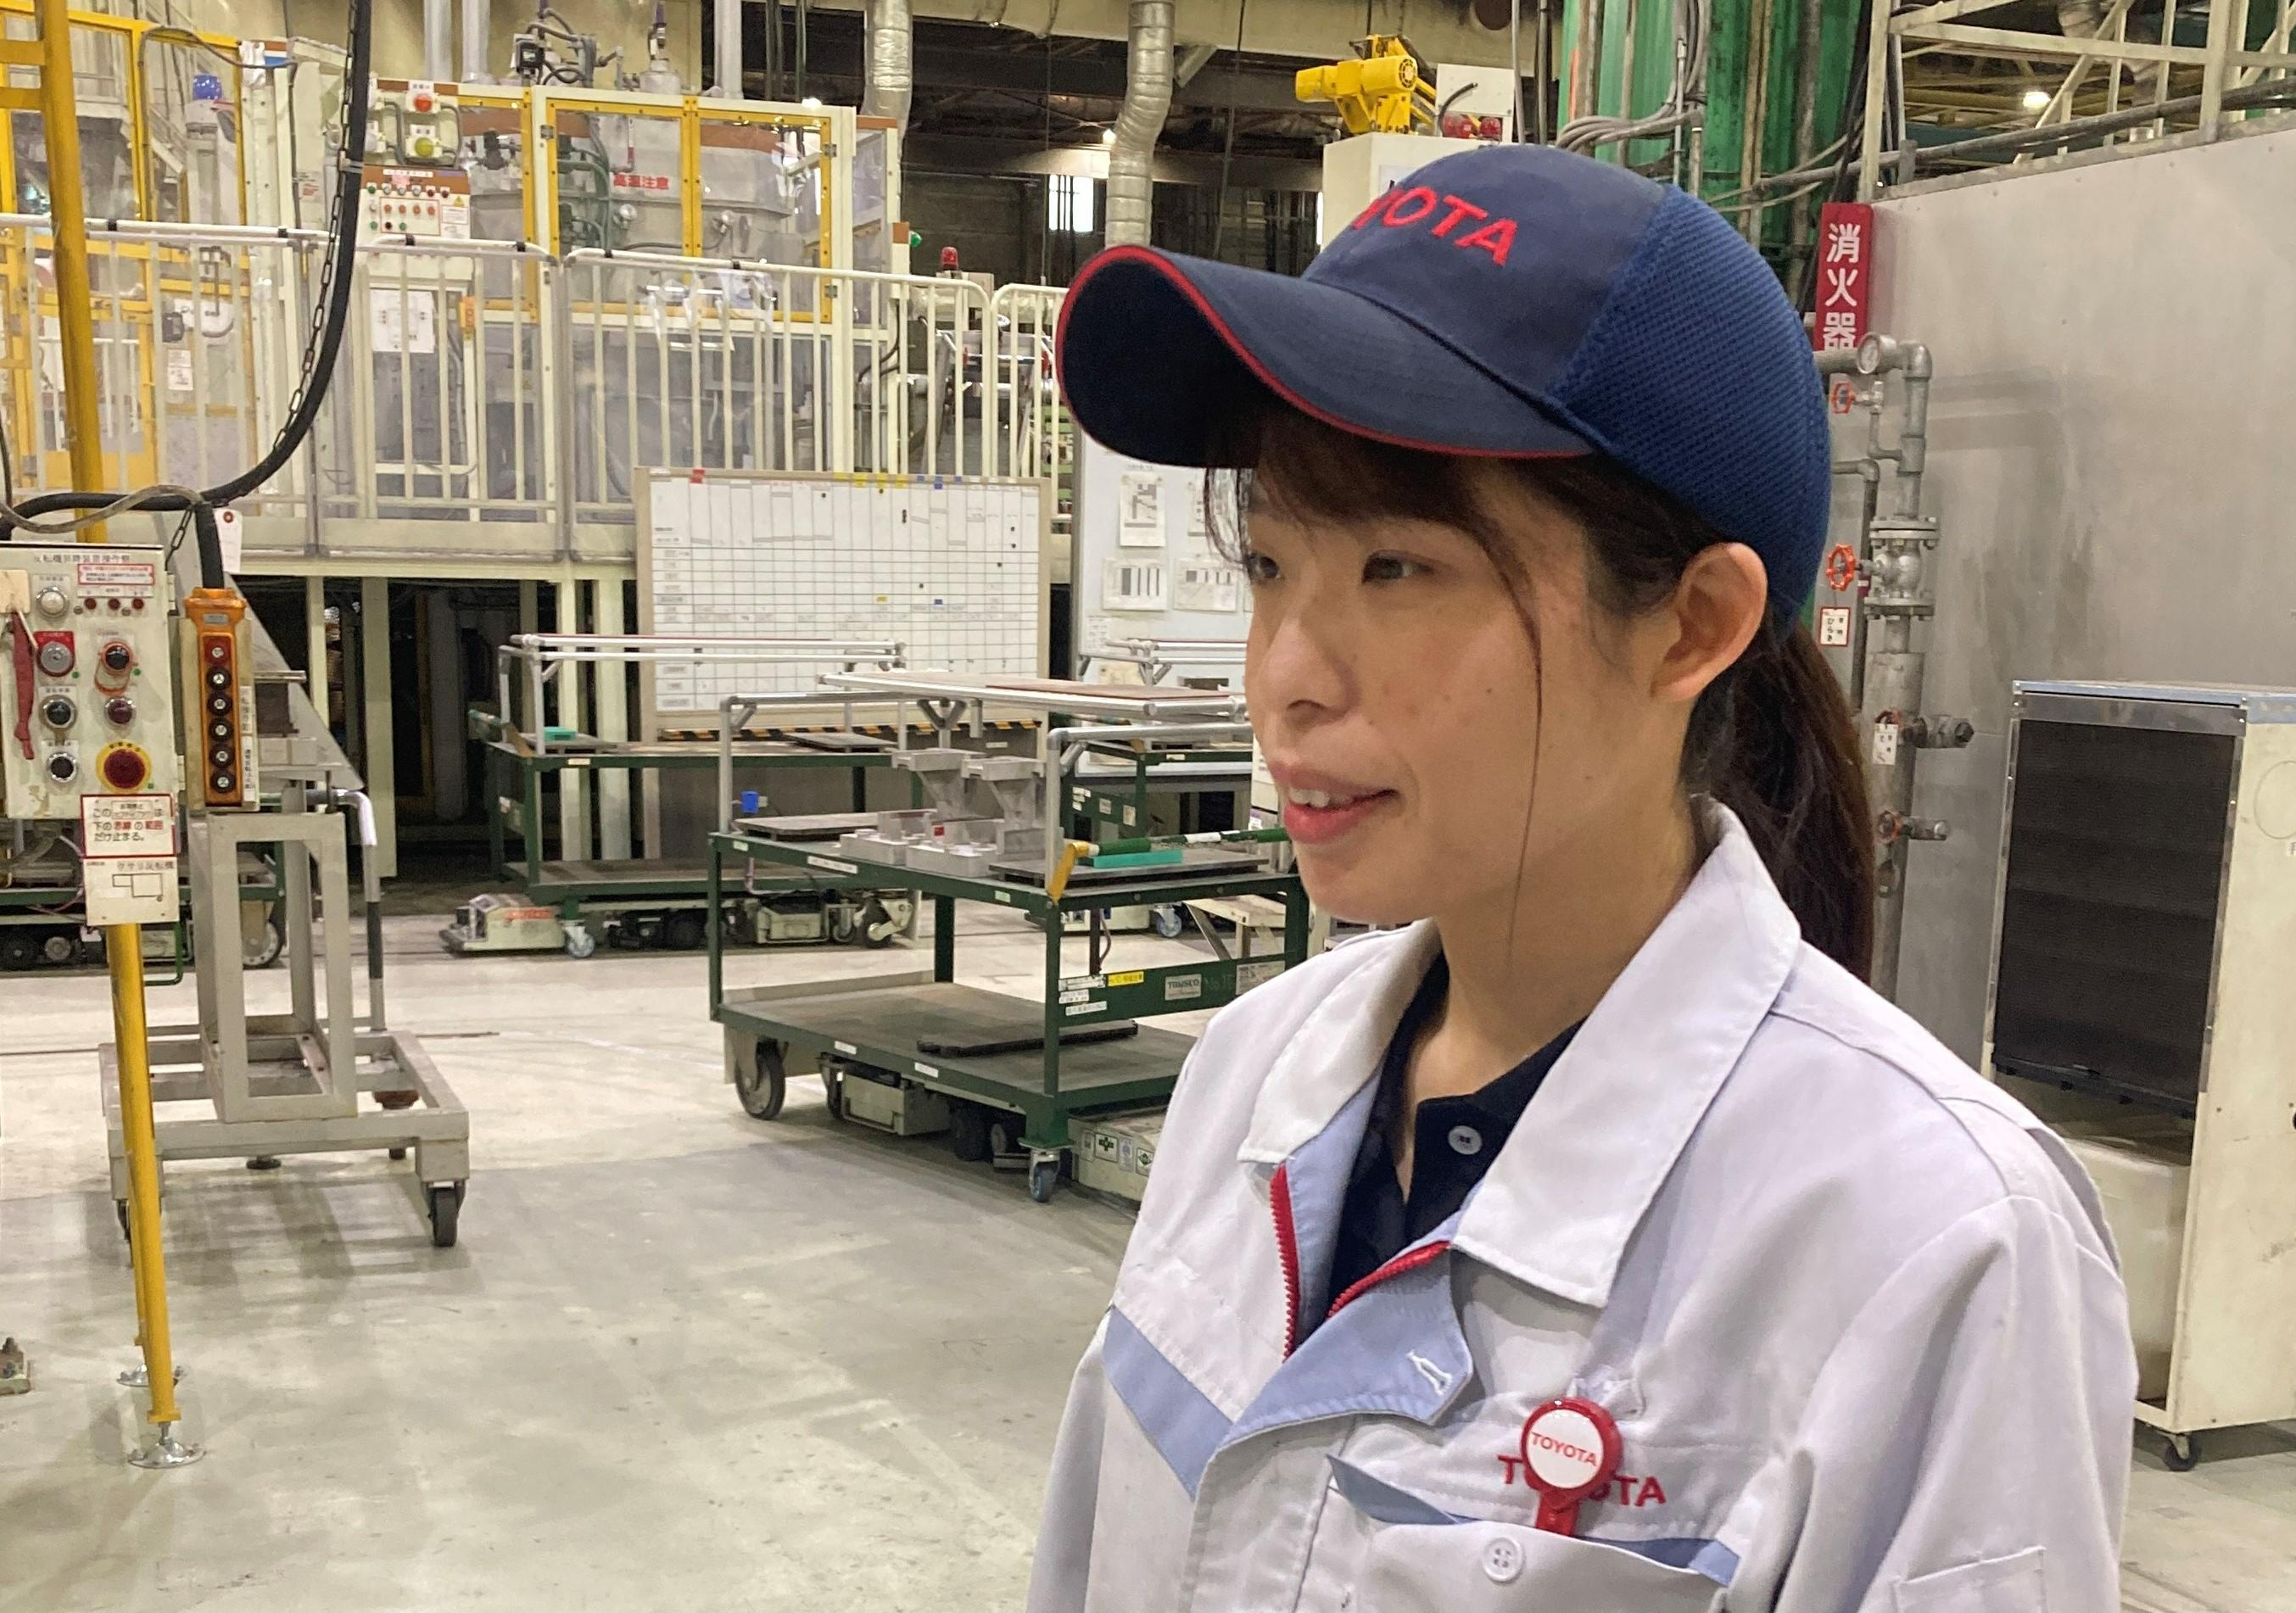
Over the past 13 years, I’ve worked on sand mold modeling and various aspects of the casting process, including prototyping for the C-POD side panels and GR Yaris, and 3D-printing cores (inserts used during casting to produce cavities within parts) for casting motorsport engines.
Tackling old-fashioned, hands-on casting
Molds are essential for producing cast parts, and the casting process begins by crafting molds. Being made from sand, these are known as sand molds.
Sand molds are prepared by filling a wooden frame with casting sand and inserting a model of the part. After the sand hardens, the model is removed to create a part-shaped imprint in the sand.
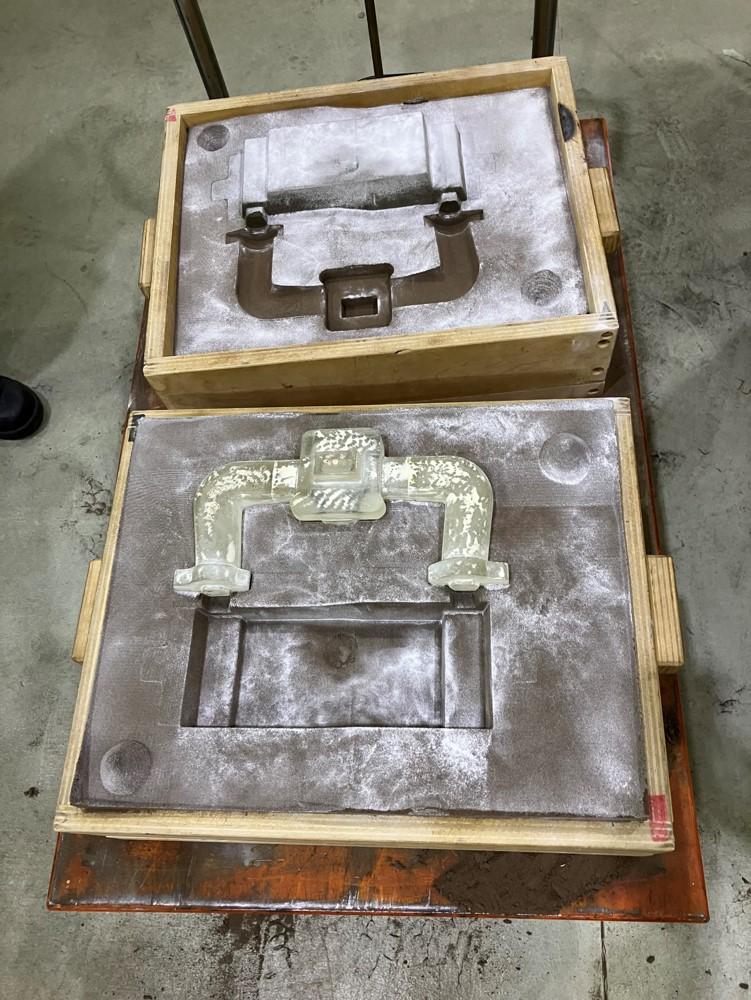
Molten metal or another material can be molded into the part’s shape by being injected into the space. Unlike machining processes that involve cutting, the material can be formed into the desired geometry in a single step. Therein lies the wonder of casting.
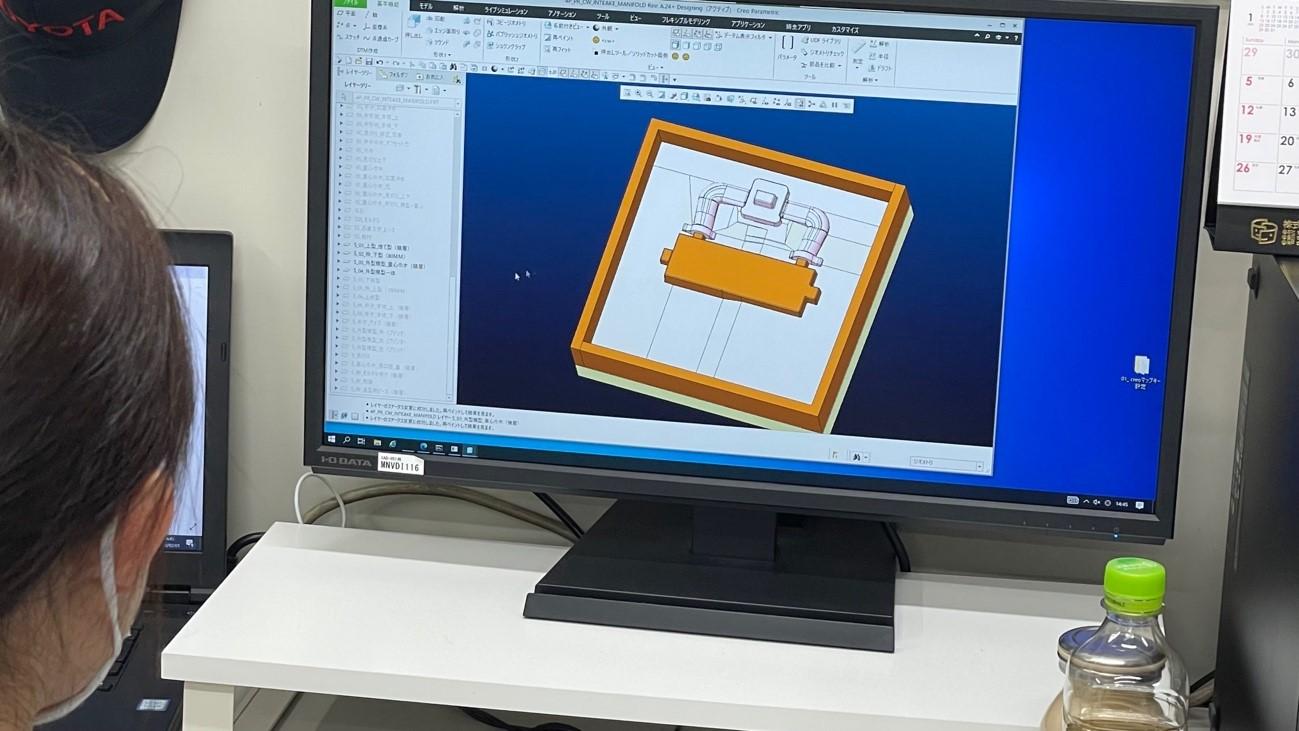
For this task, the Raw Material Development Division uses the latest casting mold 3D printers, which build sand molds from a part’s design data created with 3D-CAD software.
Of the components that the division was asked to produce, some had surviving blueprints that could be turned into 3D design data. For others, unfortunately, no drawings remained, leaving only the part itself to work from.
The old blueprints themselves contained only two-dimensional drawings, with obsolete notations and material labeling that made them extremely tough to decipher. Ordinarily, technicians have access to a product’s 3D design data, which can be used to design the mold; now for the first time, they would try to translate 2D drawings into 3D design data for each component and ultimately its mold.
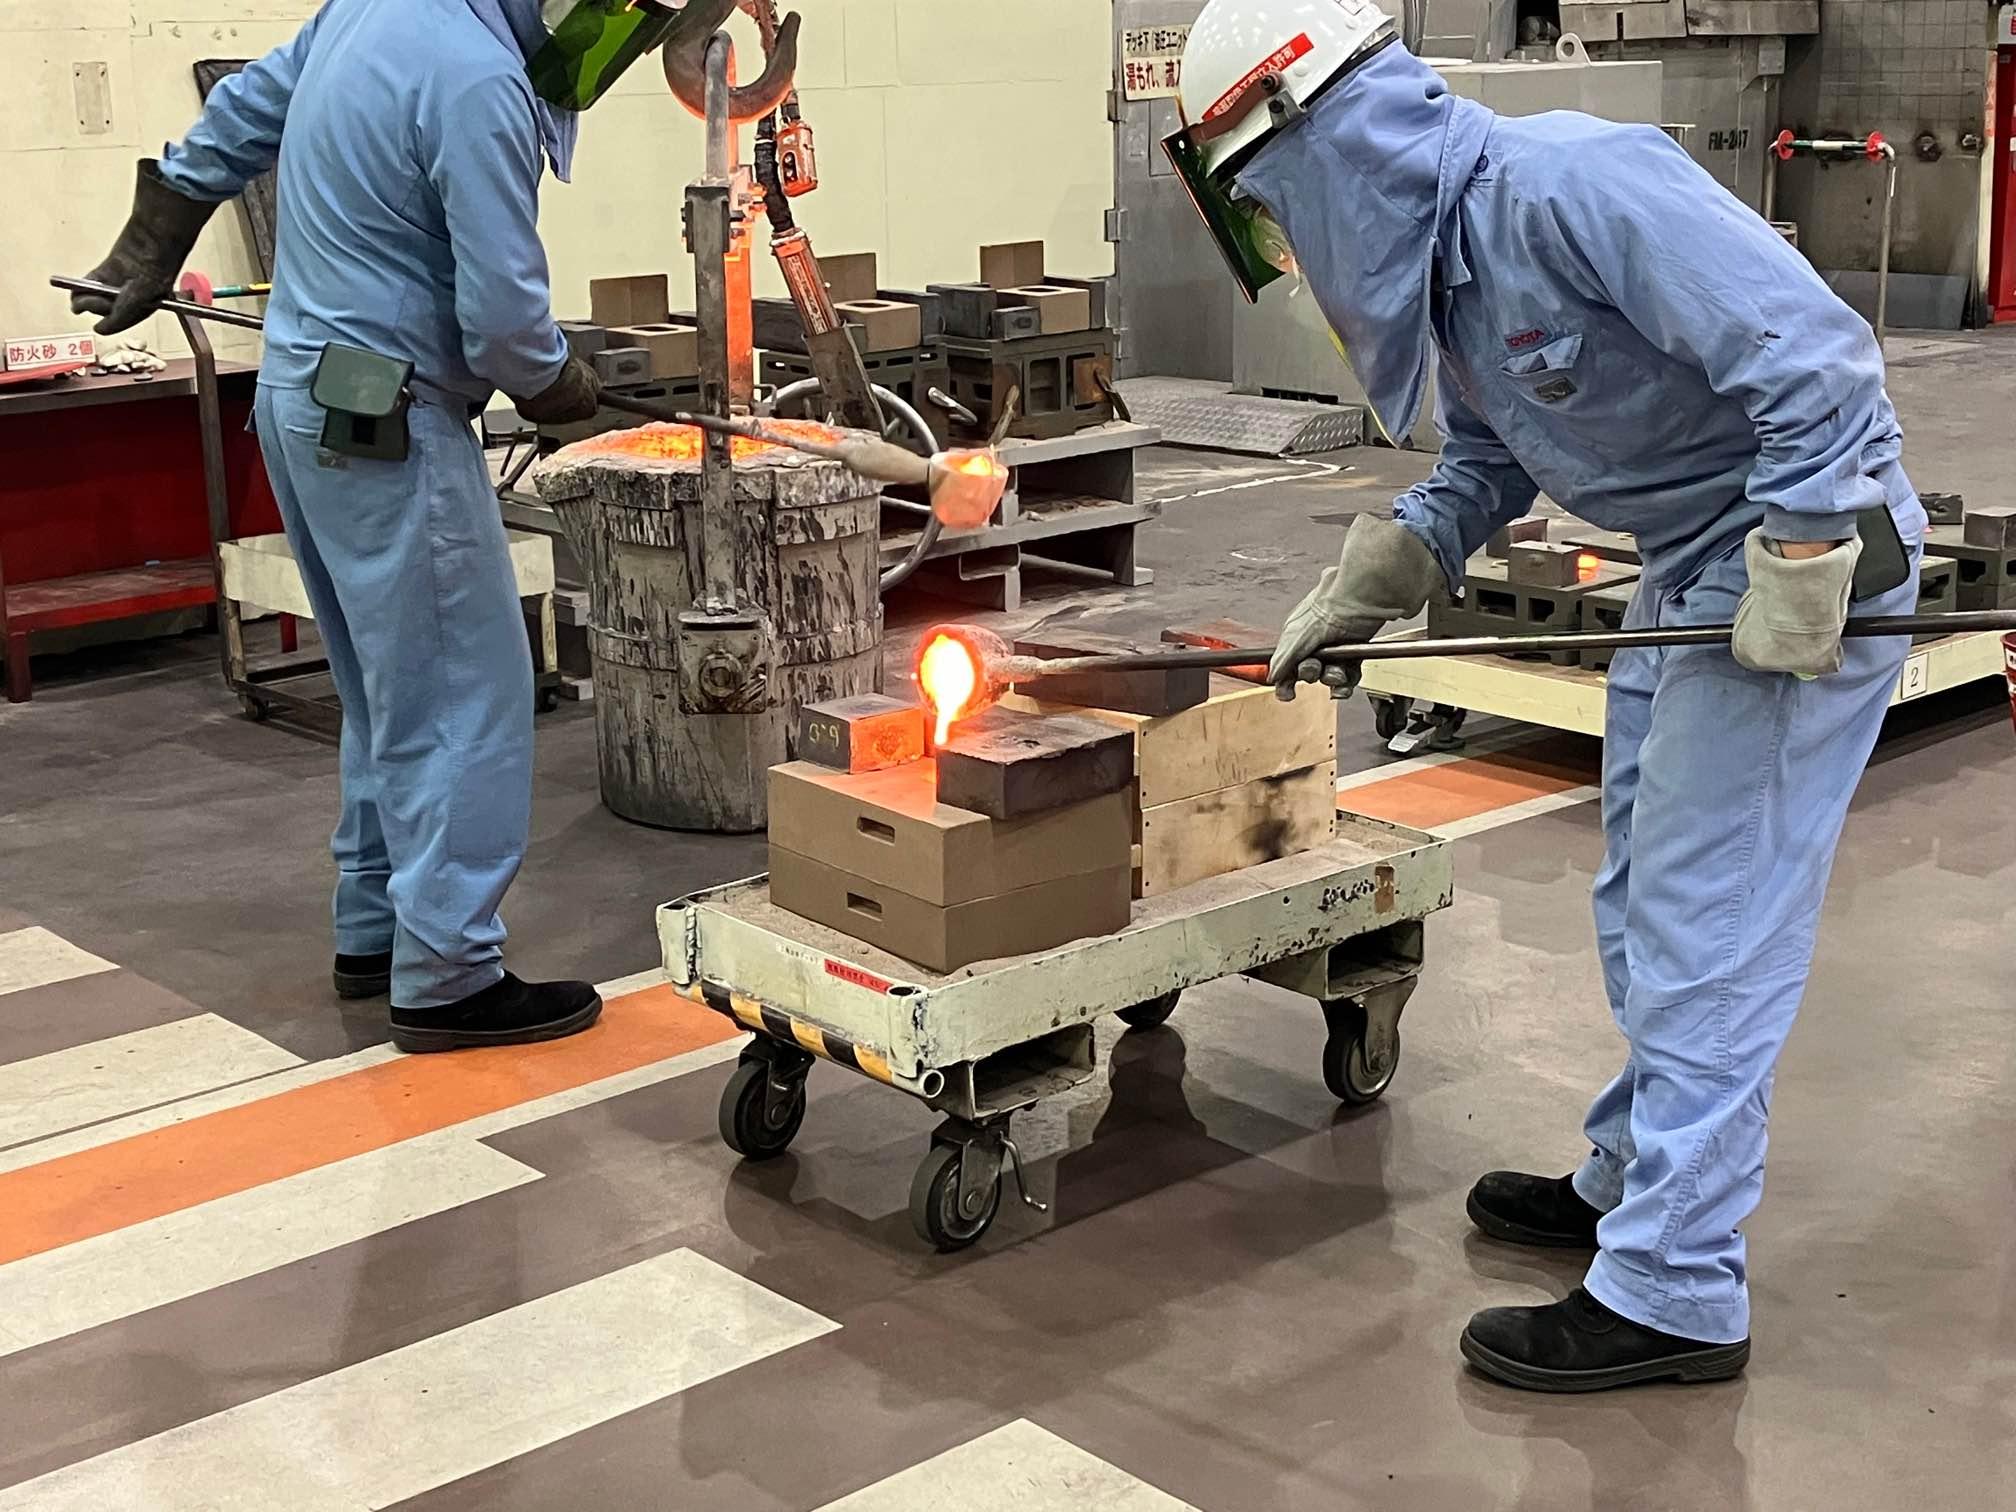
Today, the task of pouring molten metal into sand molds has also been automated. However, since the team was using “hand-shaped” molds that involved manually embedding the parts or models, automation was not an option. Instead, Seigo Yajima performed the job under the guidance of Hironori Ozaki, a Raw Material Development Division veteran.
Zinc alloy casting runs into trouble
As Motoki explained, the Raw Material Development Division was initially supposed to make just a handful of parts.
As Nagato and the others listened to the request, however, Shudo’s passionate pursuit of quality inspired them to take on more parts.
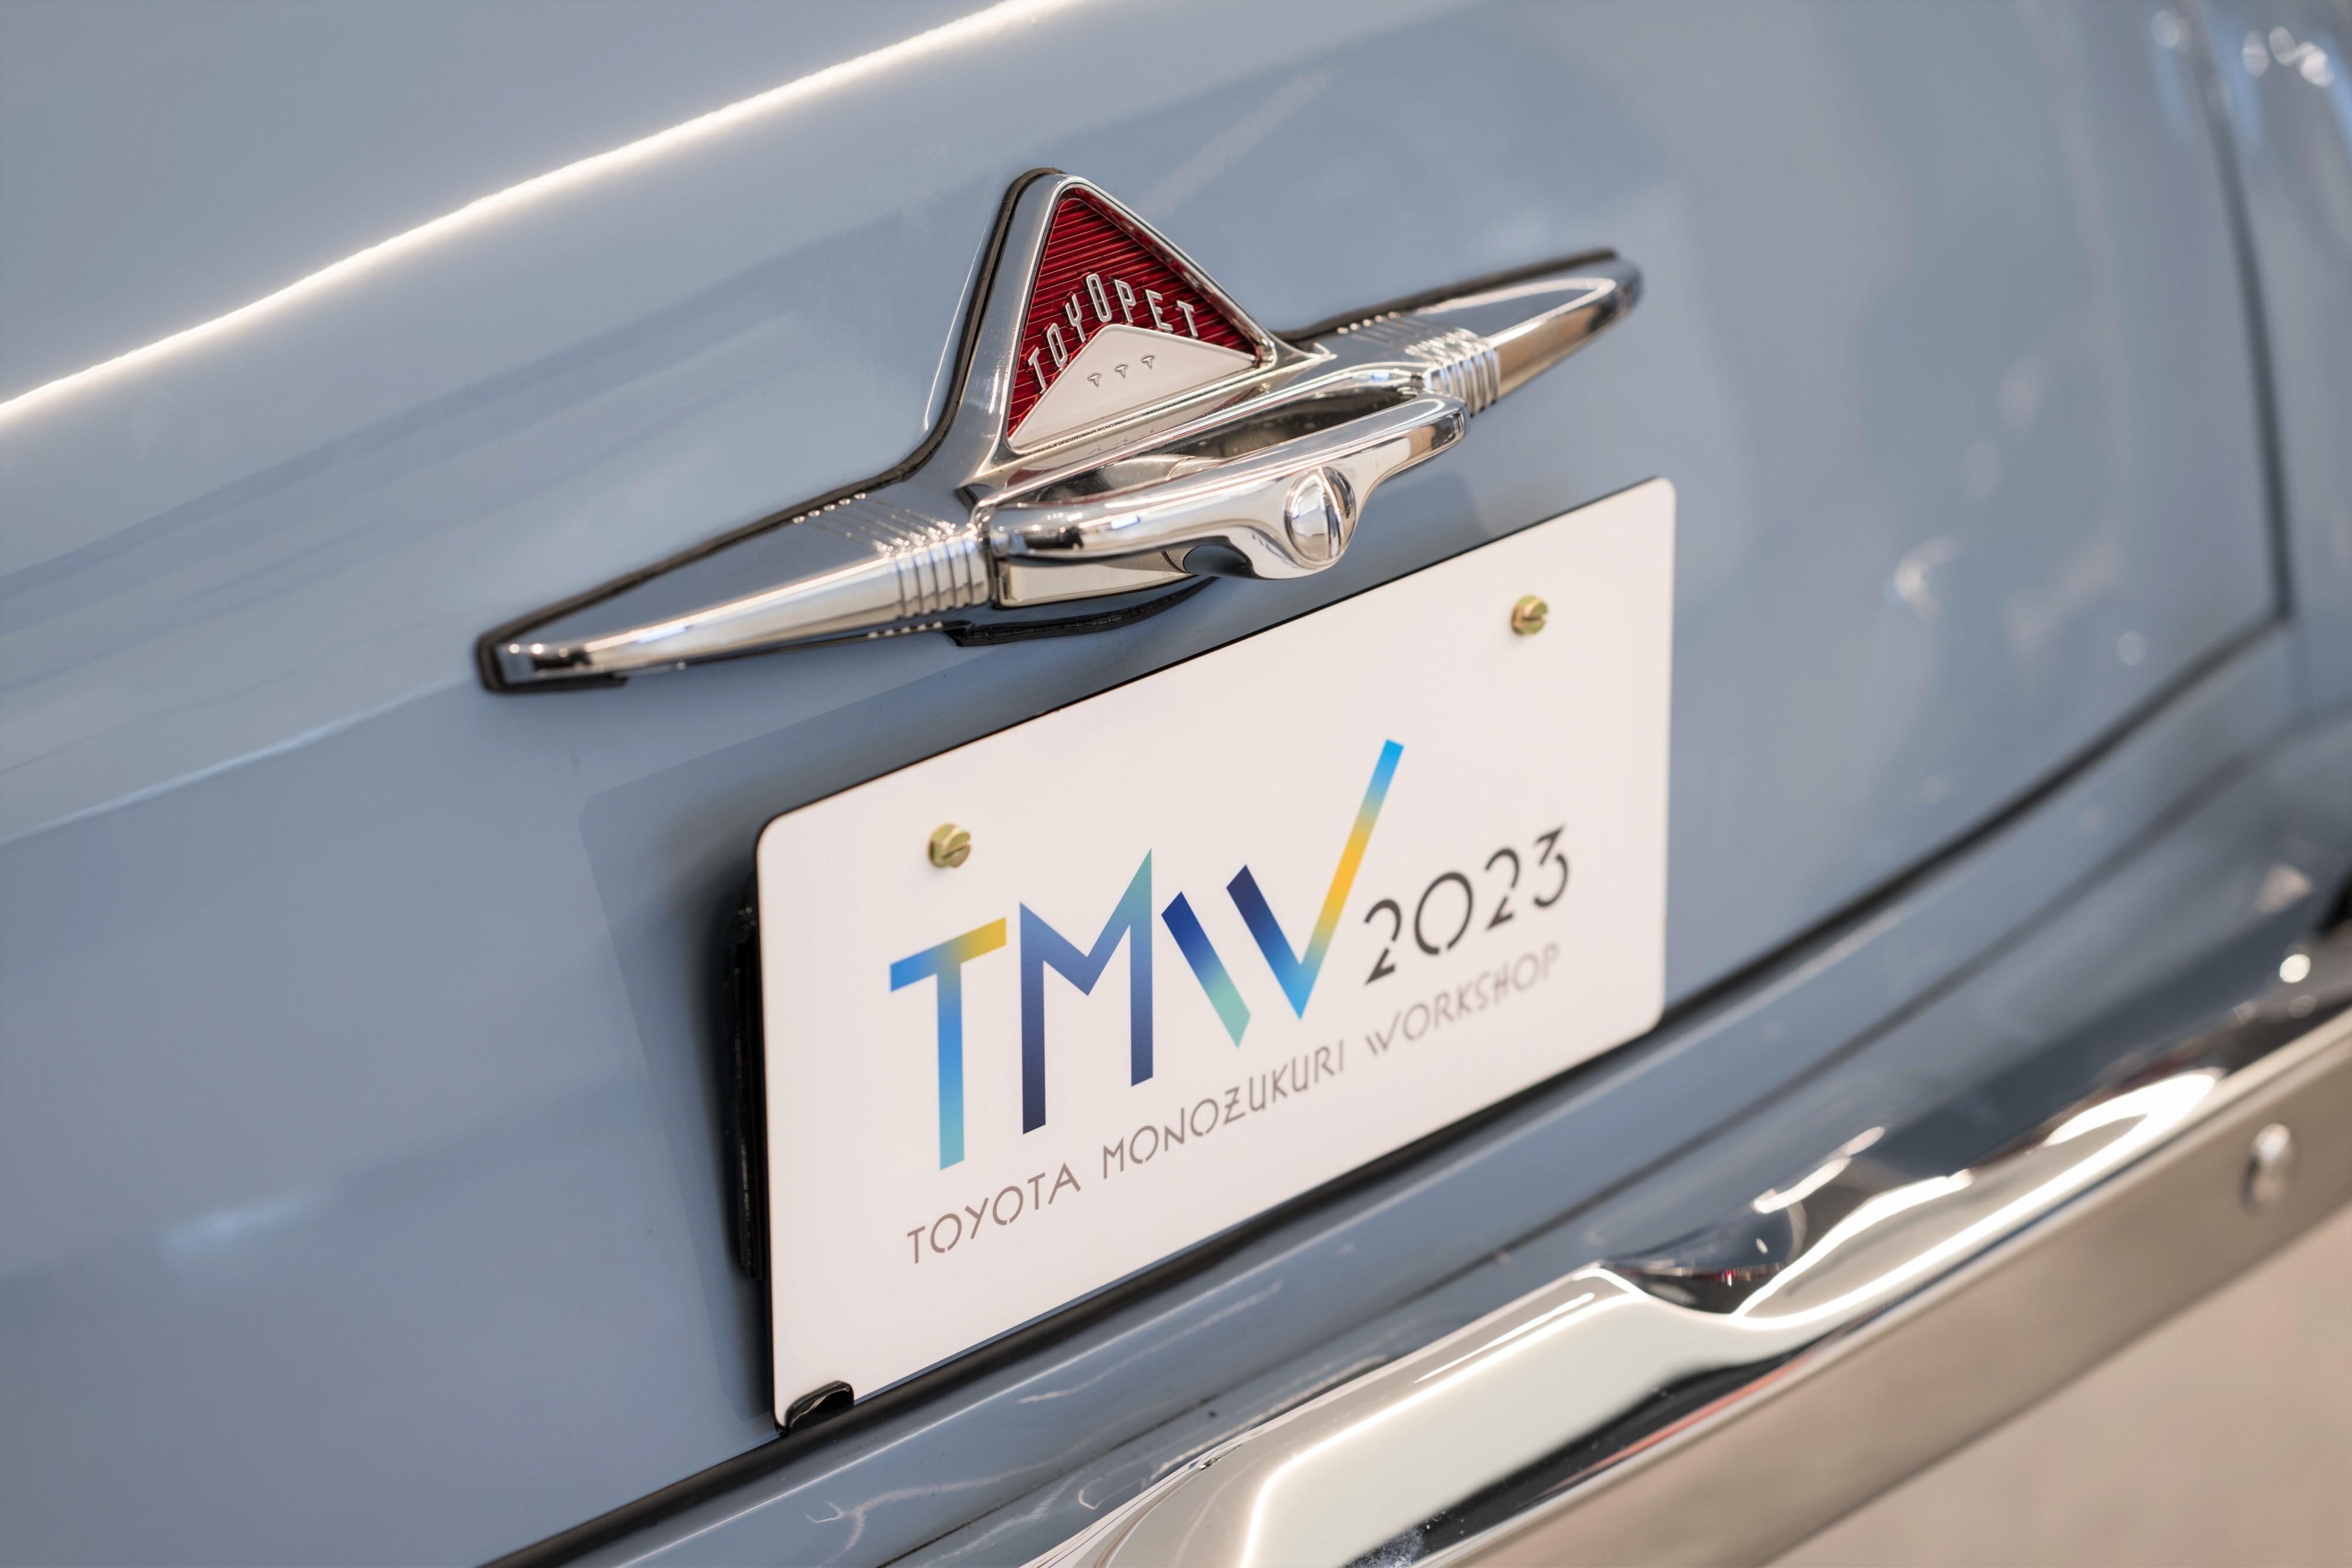
These included zinc alloy components, such as the side emblems and trunk handles, which lay beyond the experience of even Motoki, one of the company’s top casting experts.
Motoki
Even we had no experience making zinc alloy parts. If they didn’t work out, we said we would try aluminum alloy—and if that was no good, cast iron. But Shudo really wanted a zinc alloy casting, if possible, just like the original.
Moved by his plea, Nagato volunteered out of the blue—“I’ll give it a shot!” That made things tough.
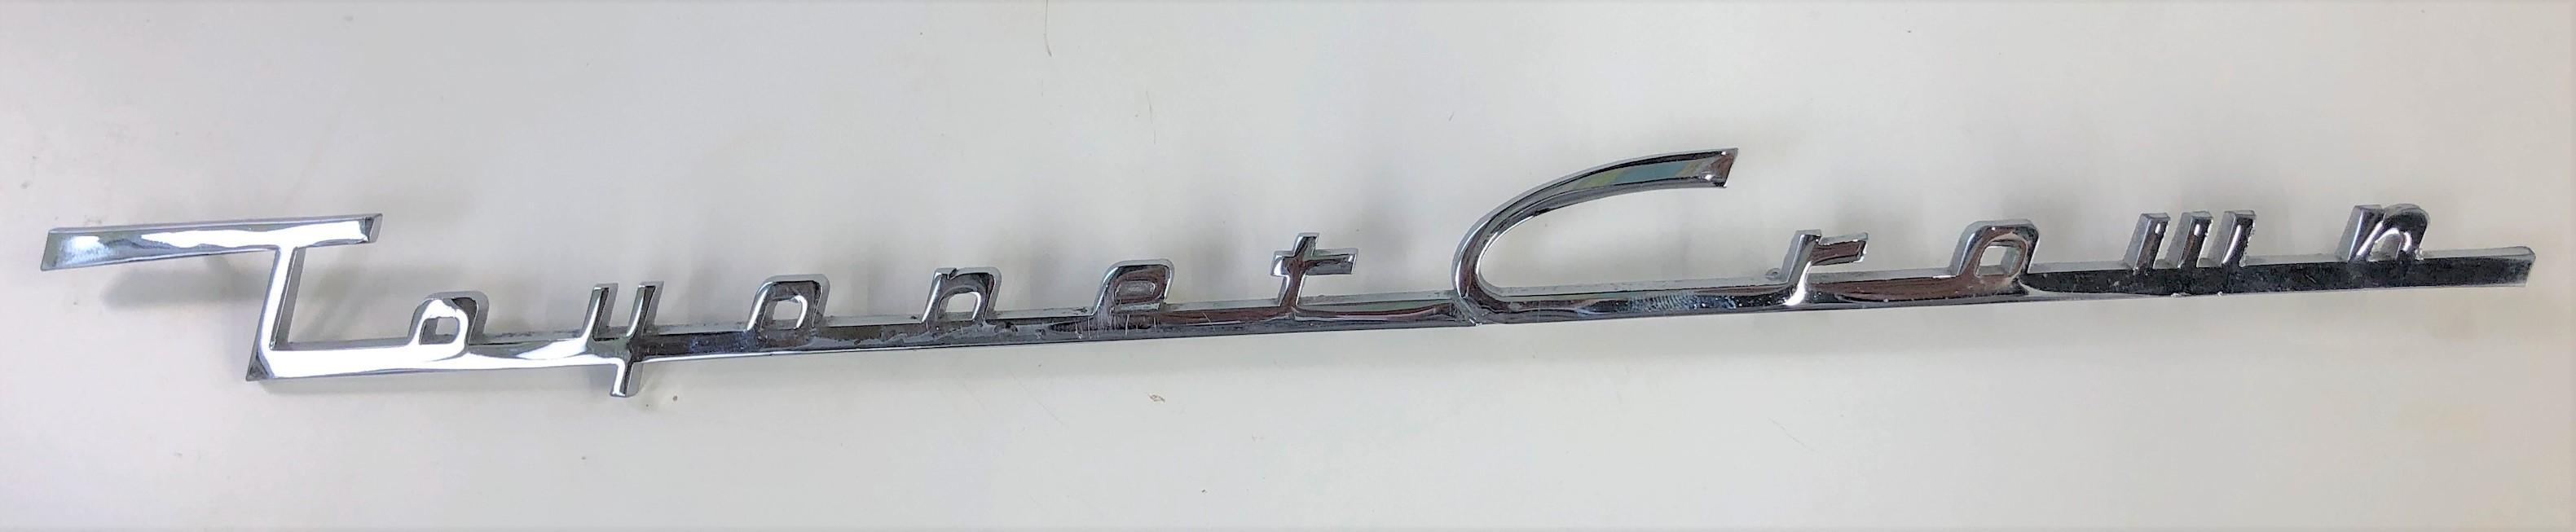
Zinc alloys have a low melting point and good fluidity, making them better than steel or aluminum for producing complex or thin-walled shapes. They are also elegant, possess high thermal conductivity, strength, and hardness, are resistant to impacts, and are even good for damping vibration. This led to zinc alloys being used for decorative parts on the first-generation Crown, such as the side emblems and moldings.
Unfortunately, the technology and expertise for producing sand-cast zinc alloy parts was already becoming a lost art within Toyota. Spurred on by Shudo’s passion, Nagato and Motoki took on the challenge of reviving this vanishing technique.
Motoki
Casting expertise varies greatly depending on the material. Zinc alloys are simply put, unruly materials. Our existing know-how in cast iron or aluminum alloys doesn’t carry over.
No matter how many times we tried, we couldn’t get a nice finish, ending up with either cracks, internal blowholes (cavities), or uneven surfaces. When we checked the old parts, their surfaces were actually quite uneven, too.
As the metal solidifies, zinc alloys shrink more than the cast iron or aluminum alloys with which Motoki, Nagato, and their colleagues are familiar. And their lower melting point makes them more prone to temperature variations as the material hardens in the mold, causing defects.
With Motoki’s guidance, Nagato and her peers tackled this difficult problem by refining the plan for how metal is poured into the sand mold and the cooling method.
Nagato
Because blowholes also occurred on the surface, we made the mold 1 mm larger than the dimensions and finished the cast part with NC (numerical control) machining.
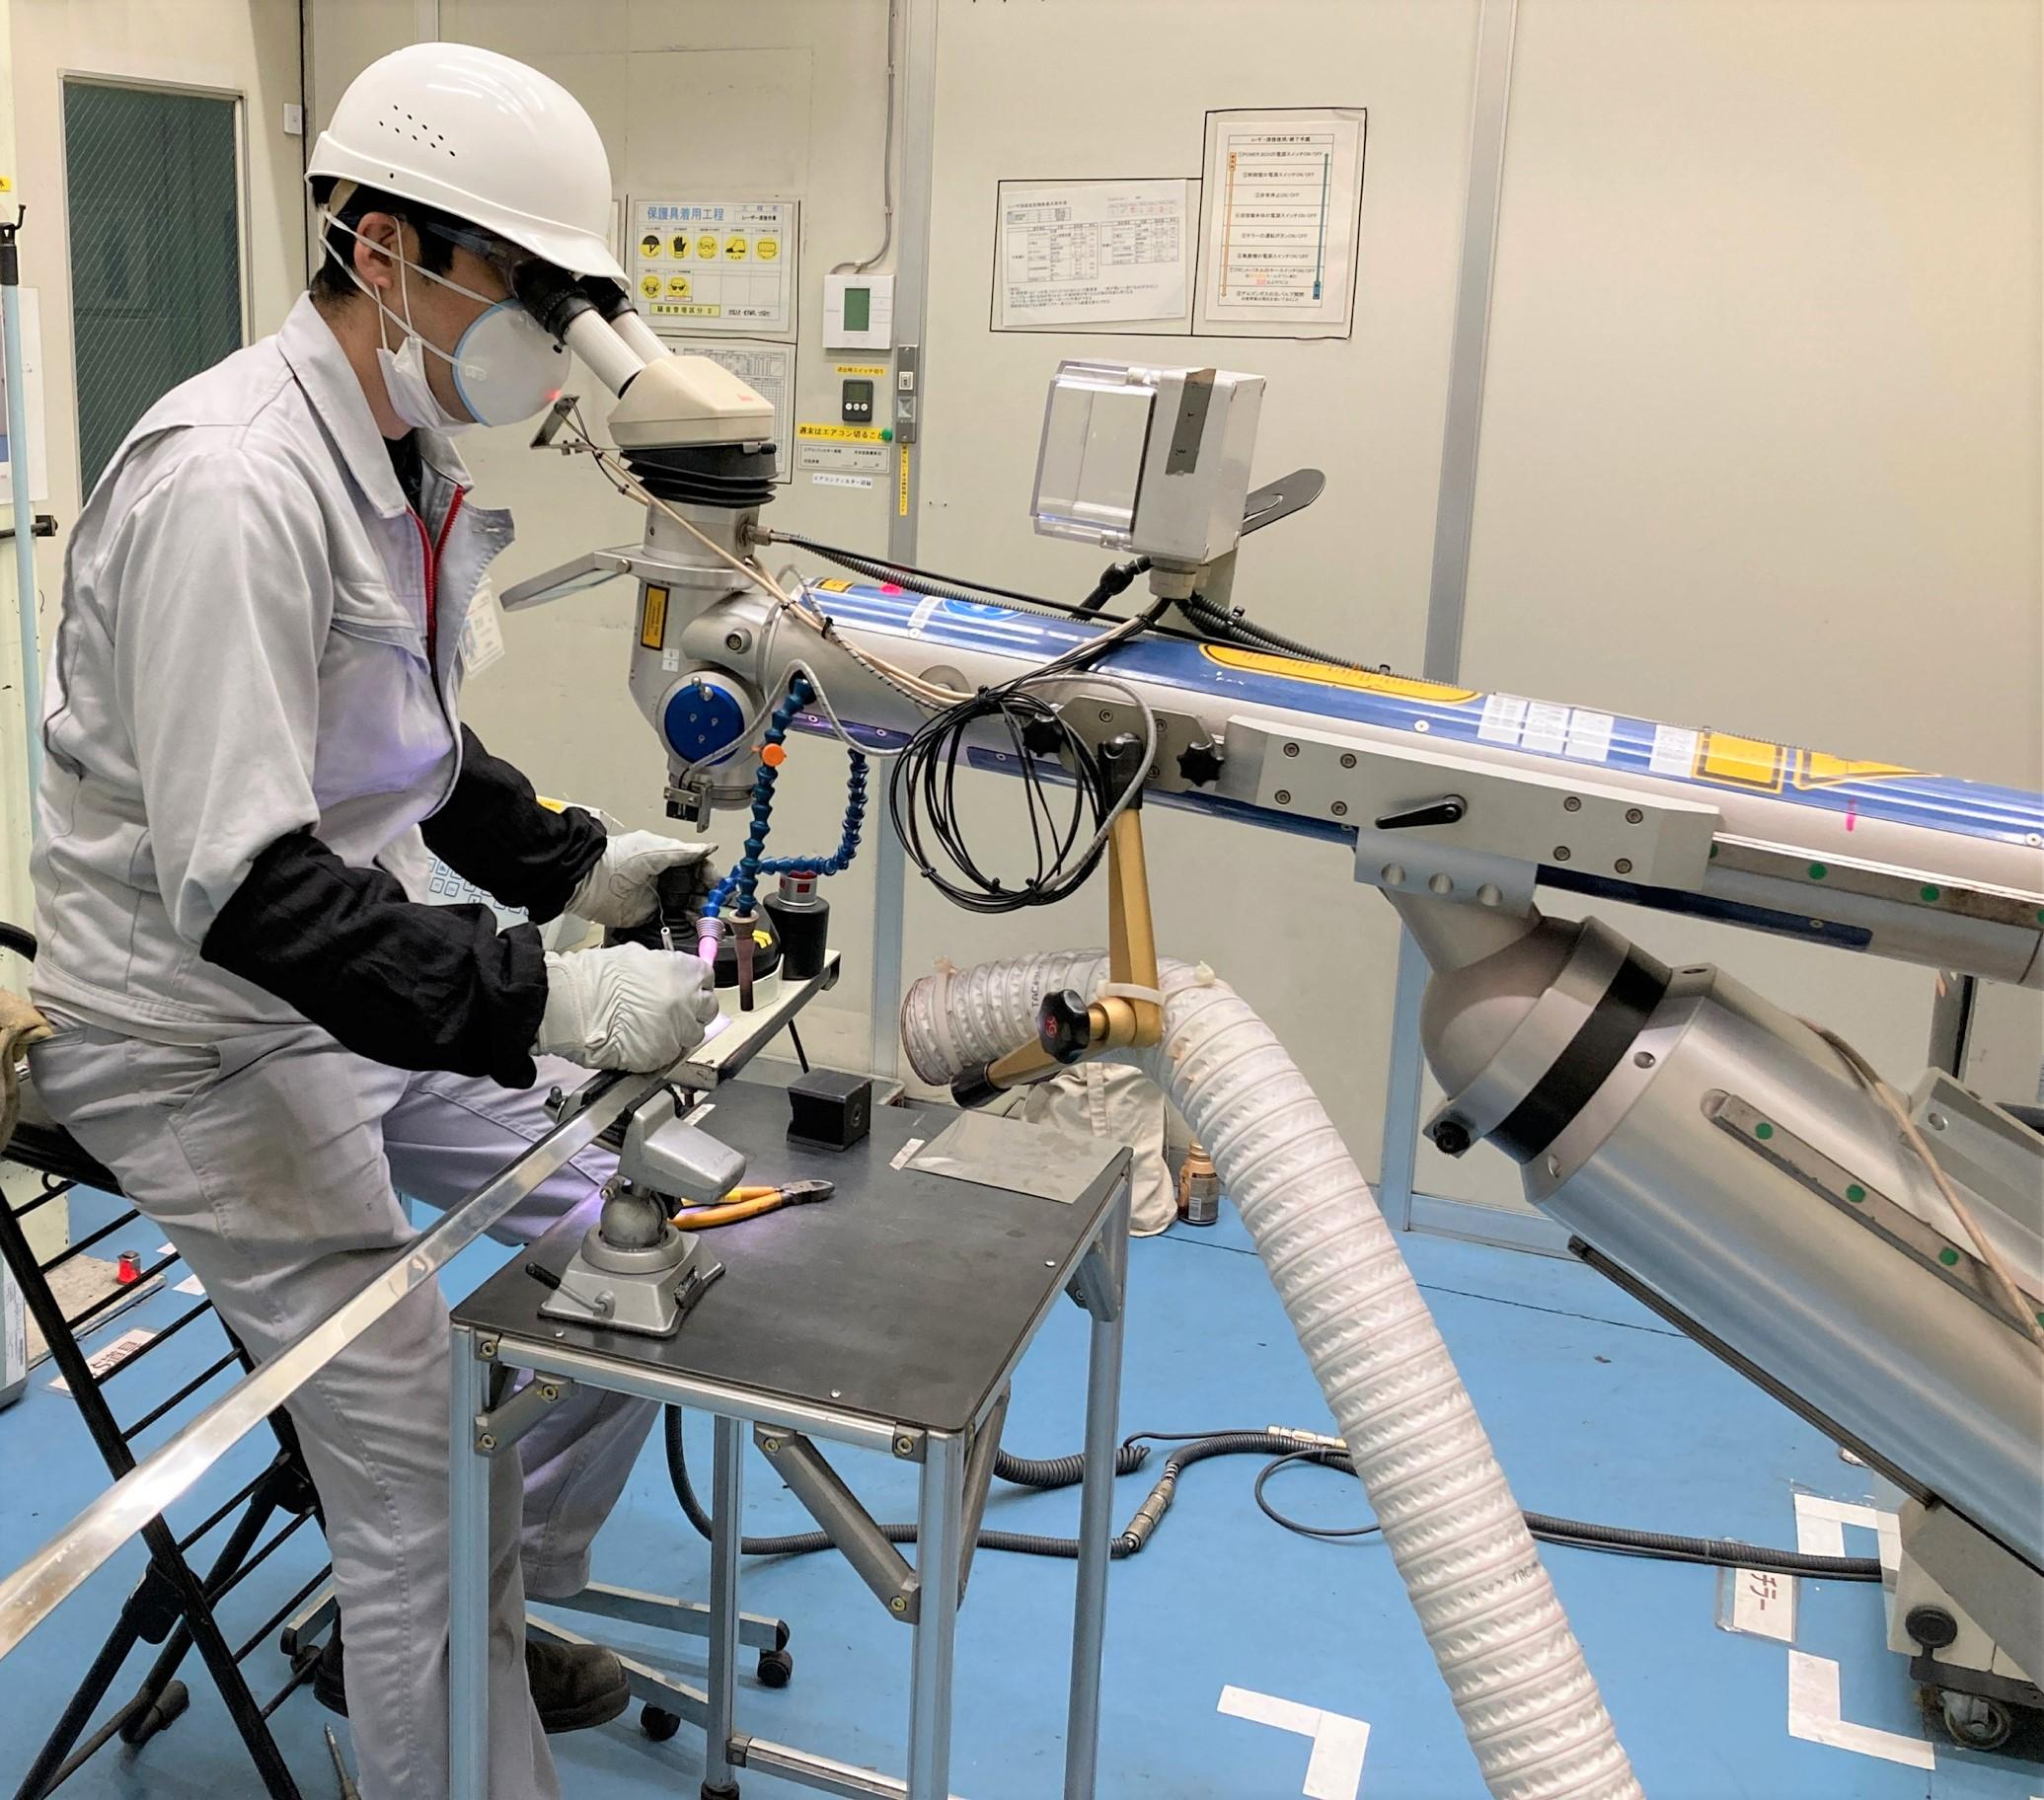
Yet their problems weren’t over. The zinc alloy parts inevitably came out with tiny pores on the surface, which would need to be filled in and leveled to enable a beautiful finish when plated.
Shudo and the Raw Material Development Division staff searched within the company and beyond for a possible solution. They ended up stretching out welding rods made from a metal called antimony, reducing their diameter from 1.6 mm to 0.3 mm, and then laser-welding part surfaces to fill the holes. At last, this produced a satisfying finish.

Pitching in to produce lamps
Project team member Shinji Tanaka worked on restoring and fabricating the car’s tail lamps and other lights. This, too, would not have been possible without assistance from the Raw Material Development Division.
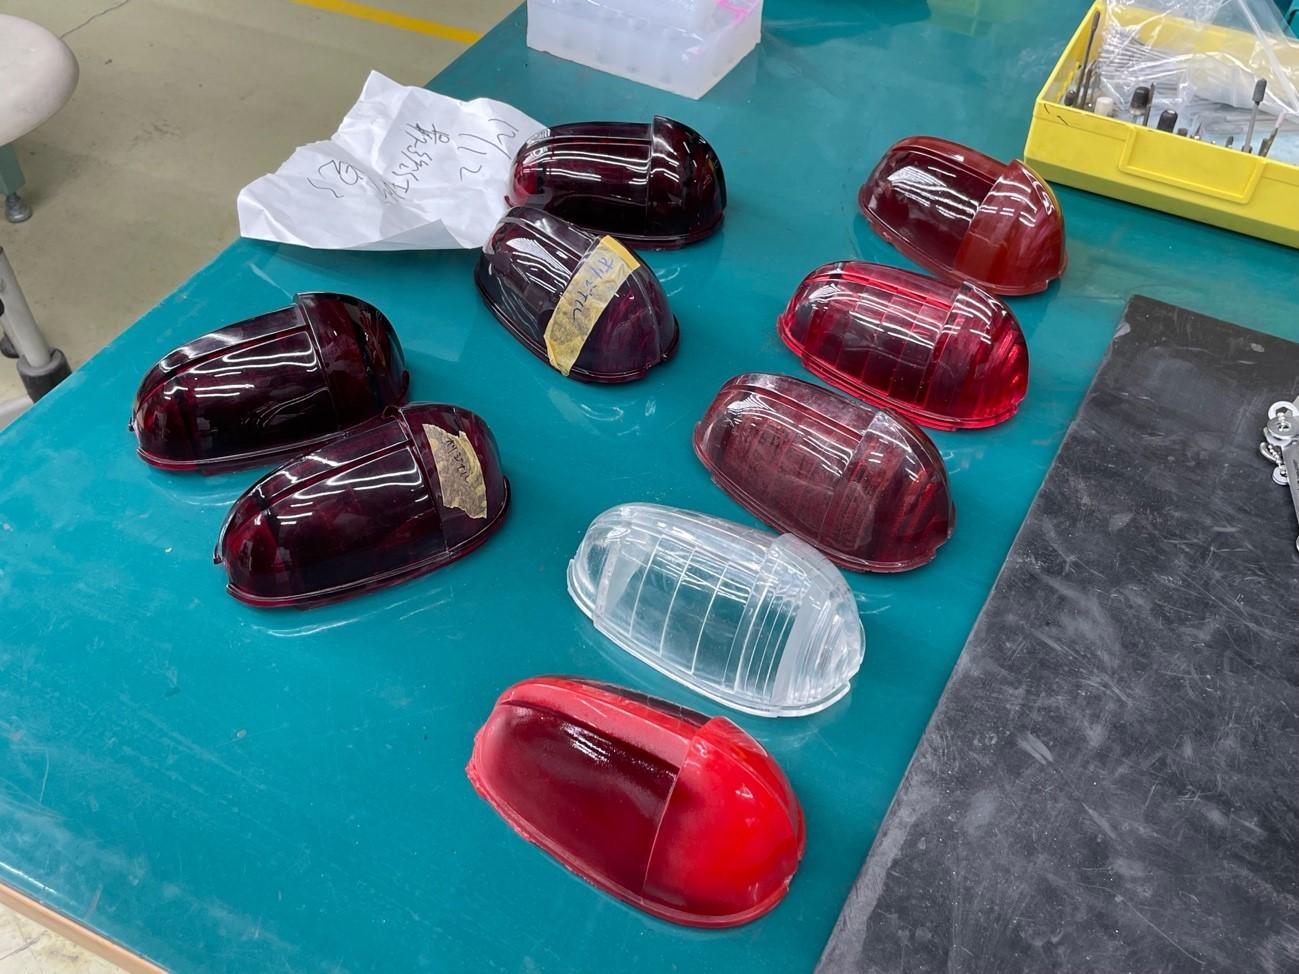
Most of the existing plastic tail lamp covers were cracked with age and could not be reused. What’s more, no detailed design drawings remained. Here, too, the team had no choice but to build from scratch, using the original as a model.
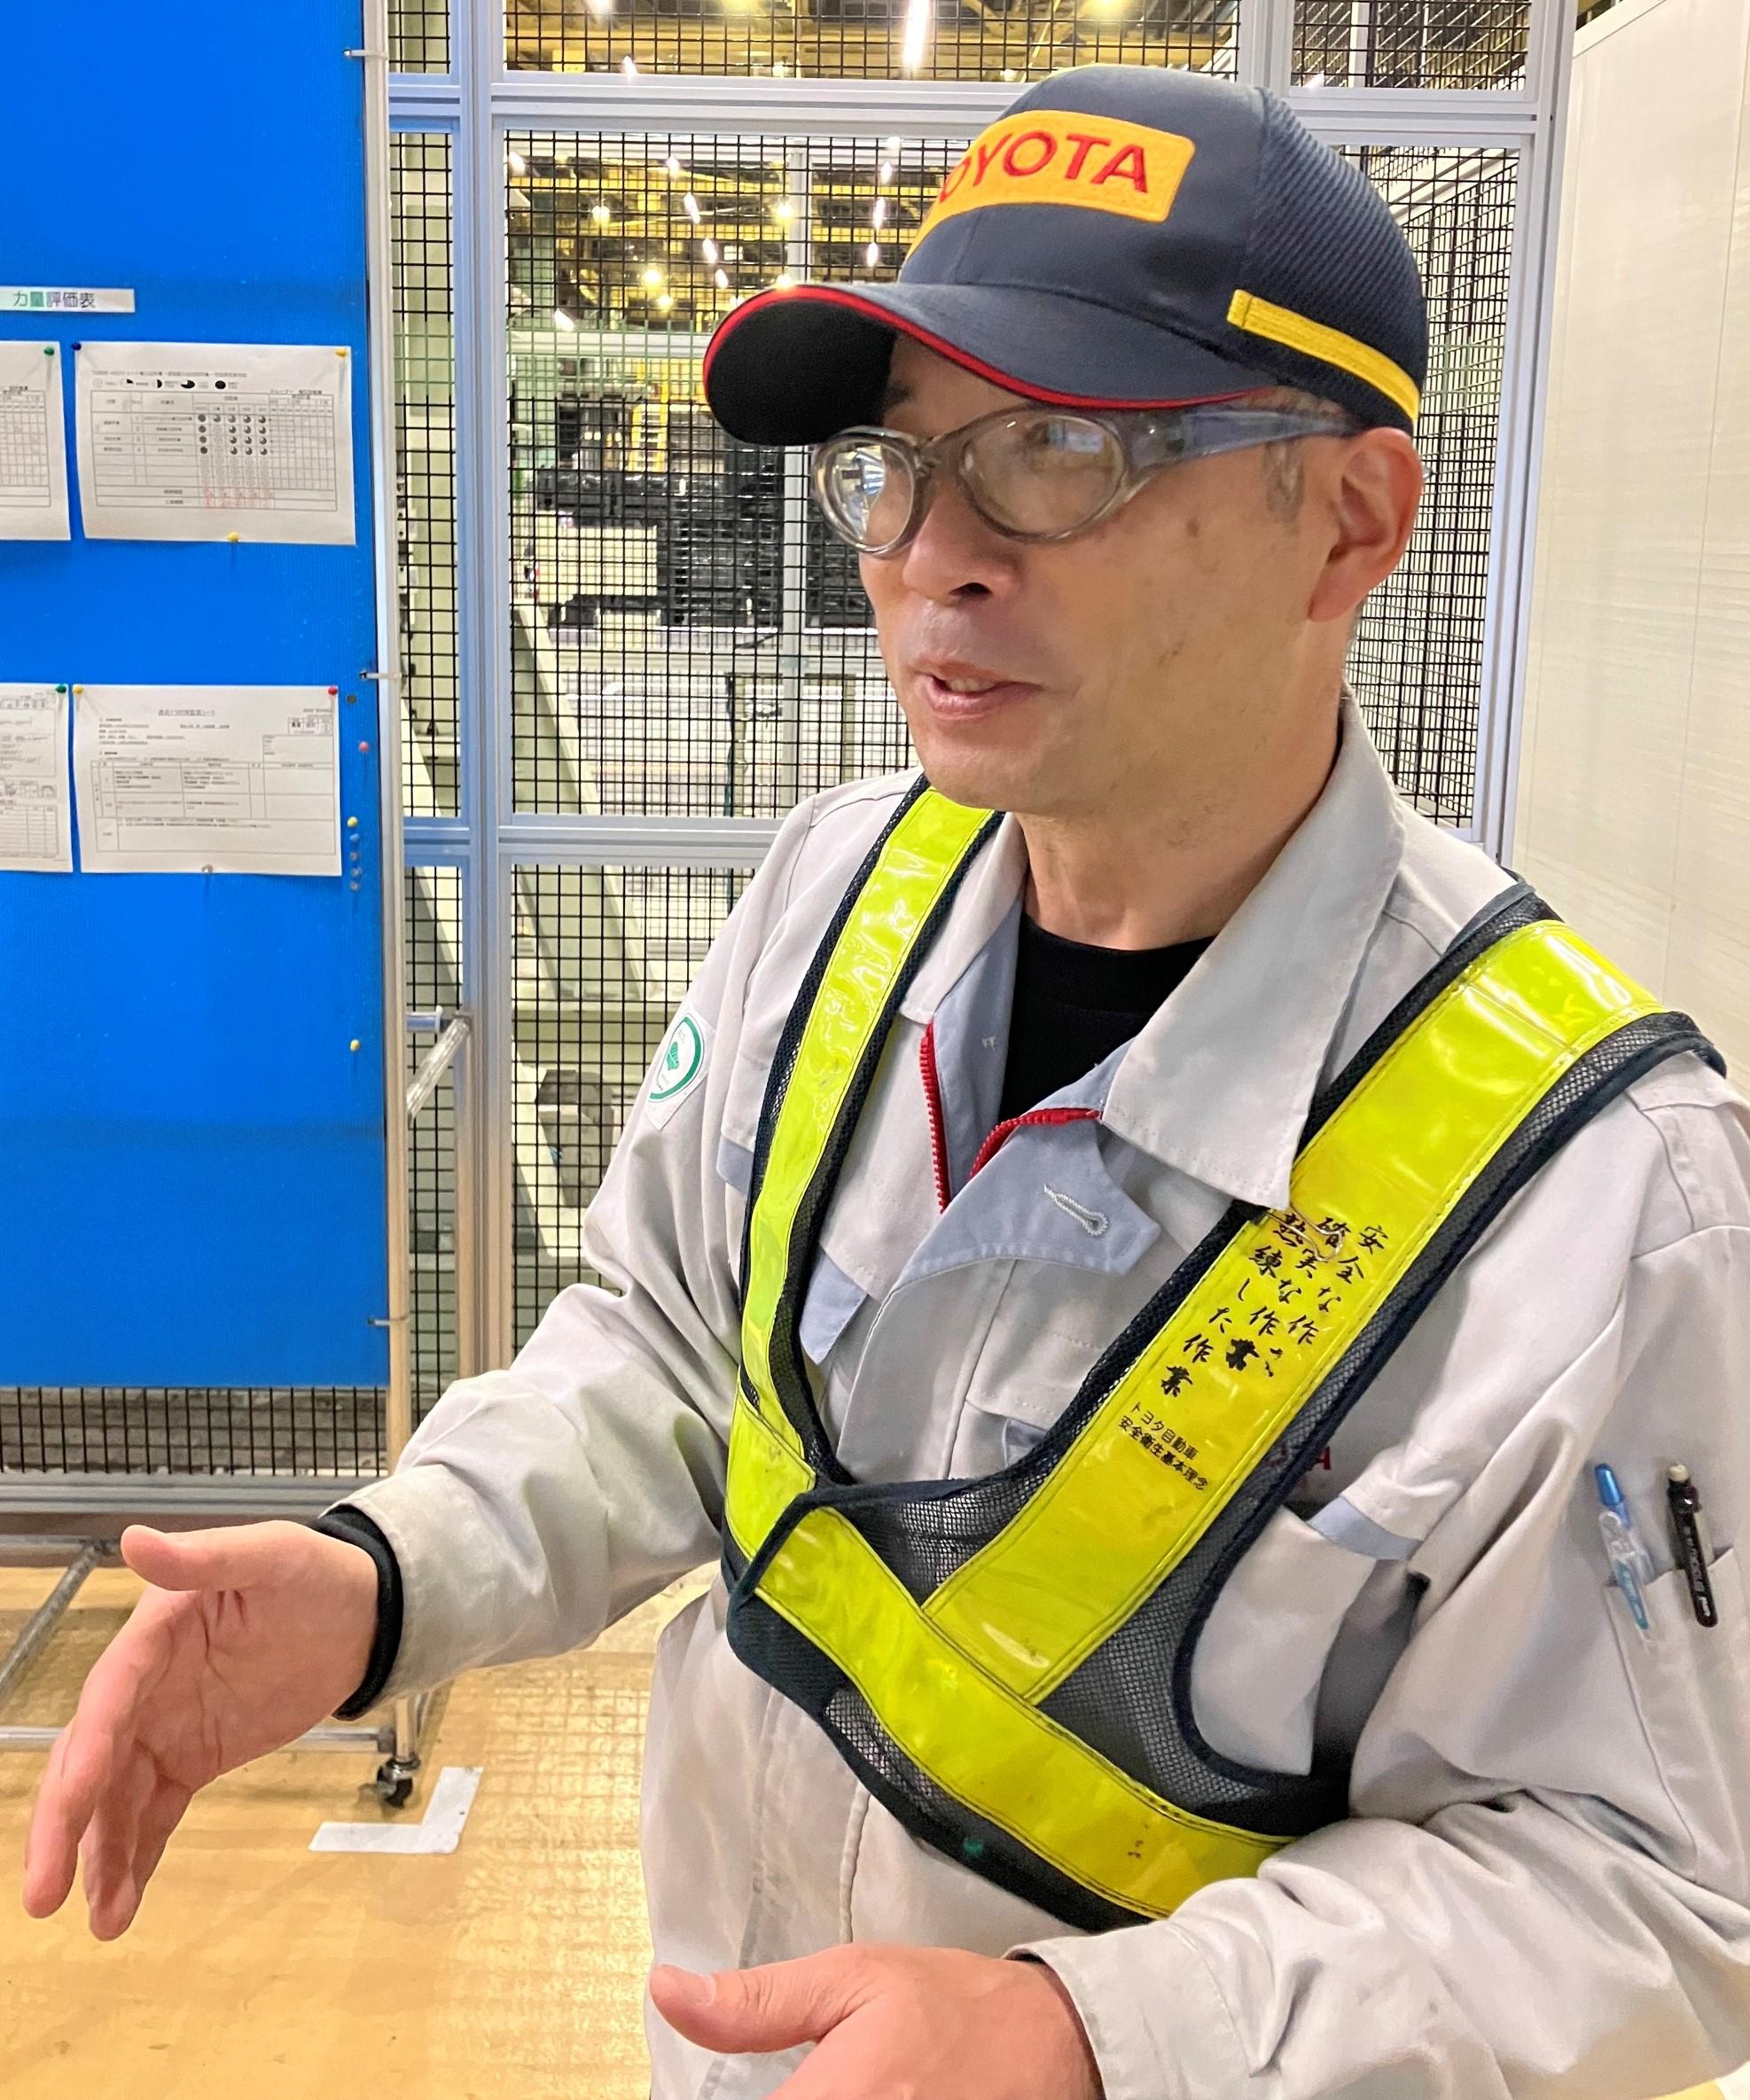
Tanaka
I’ve been working at the Myochi Plant’s Foundry Division ever since joining Toyota, making suspensions, differential gears, and other metal parts.
As a member of the restoration project, when I was put in charge of the lamps, I had to figure out how to make them.
Lamp parts are also made using molds. So, first, I thought this would simply be a case of switching materials from cast iron to plastic and changing from a sand mold to another type.
Without blueprints, Tanaka set about making molds from the plastic lamp parts that had been removed from the first-generation Crown.
Acrylics are synthetic resins with outstanding transparency and weatherability, used in a wide range of everyday items, from building materials to electronic components, road signs, and even paints. They, therefore, come in an astonishing variety. Day after day, Tanaka tested different types of acrylics.

Yet no amount of effort achieved the desired result. Tanaka sought advice from the Raw Material Development Division, which also manufactured plastic parts for prototype vehicles and motorsports racing cars. He worked on a solution with one of the division’s younger staff, Ats.
Through repeated trial and error, the pair finally arrived at an acrylic material that made them feel, “This is the one!”
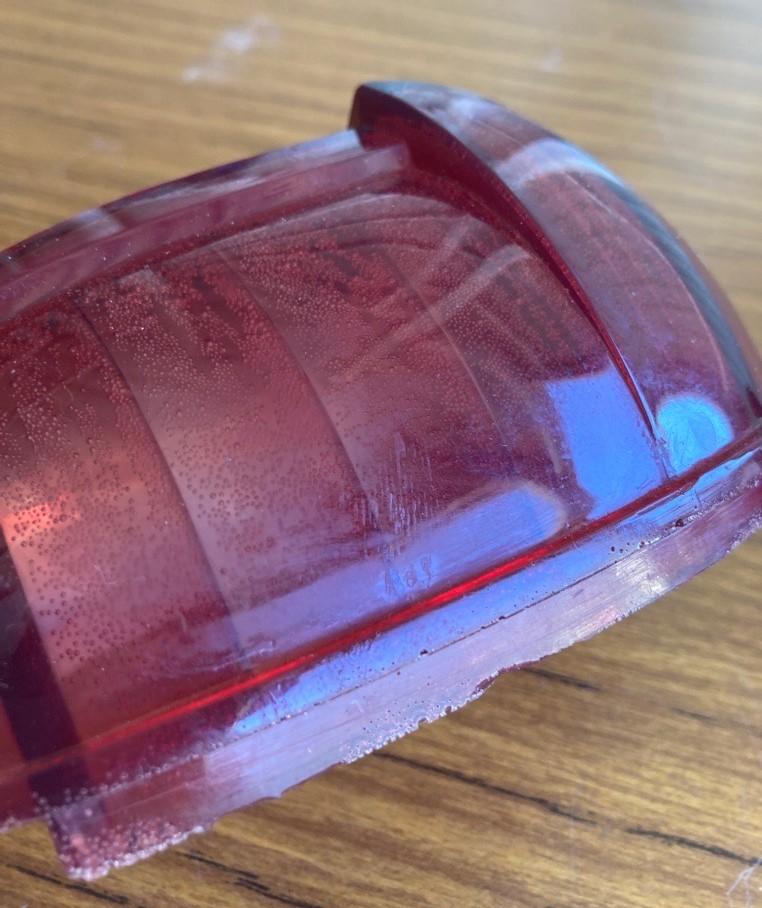
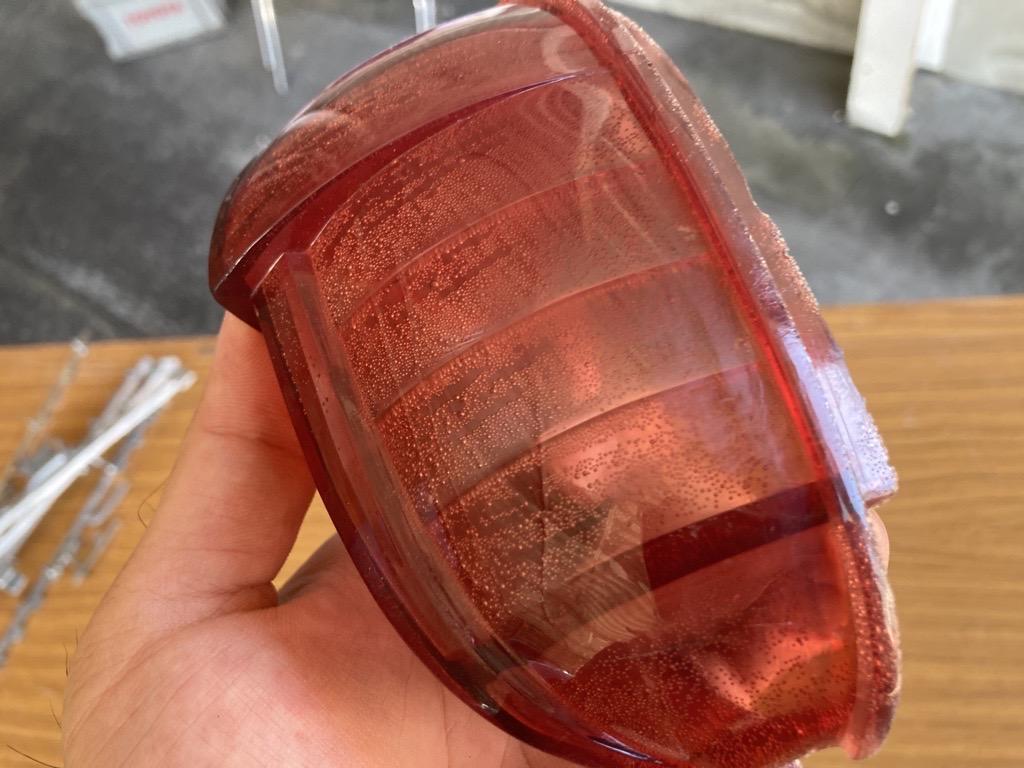
But still, problems persisted. The molded parts inevitably came out with air bubbles trapped inside. These had to somehow be eliminated, not just for the sake of appearance but also to prevent strength issues.
Thankfully, the Raw Material Development Division also had the technology and expertise for eliminating these air bubbles in the form of degassing equipment once used in the development of plastic parts.
Tanaka
The degassing involves creating a vacuum that removes air bubbles within the resin, but unless you do it thoroughly two or three times, some bubbles are bound to remain trapped.
After many failed attempts, we managed to eliminate air bubbles in the lamp plastics by adjusting aspects such as the mold shape and cooling method.
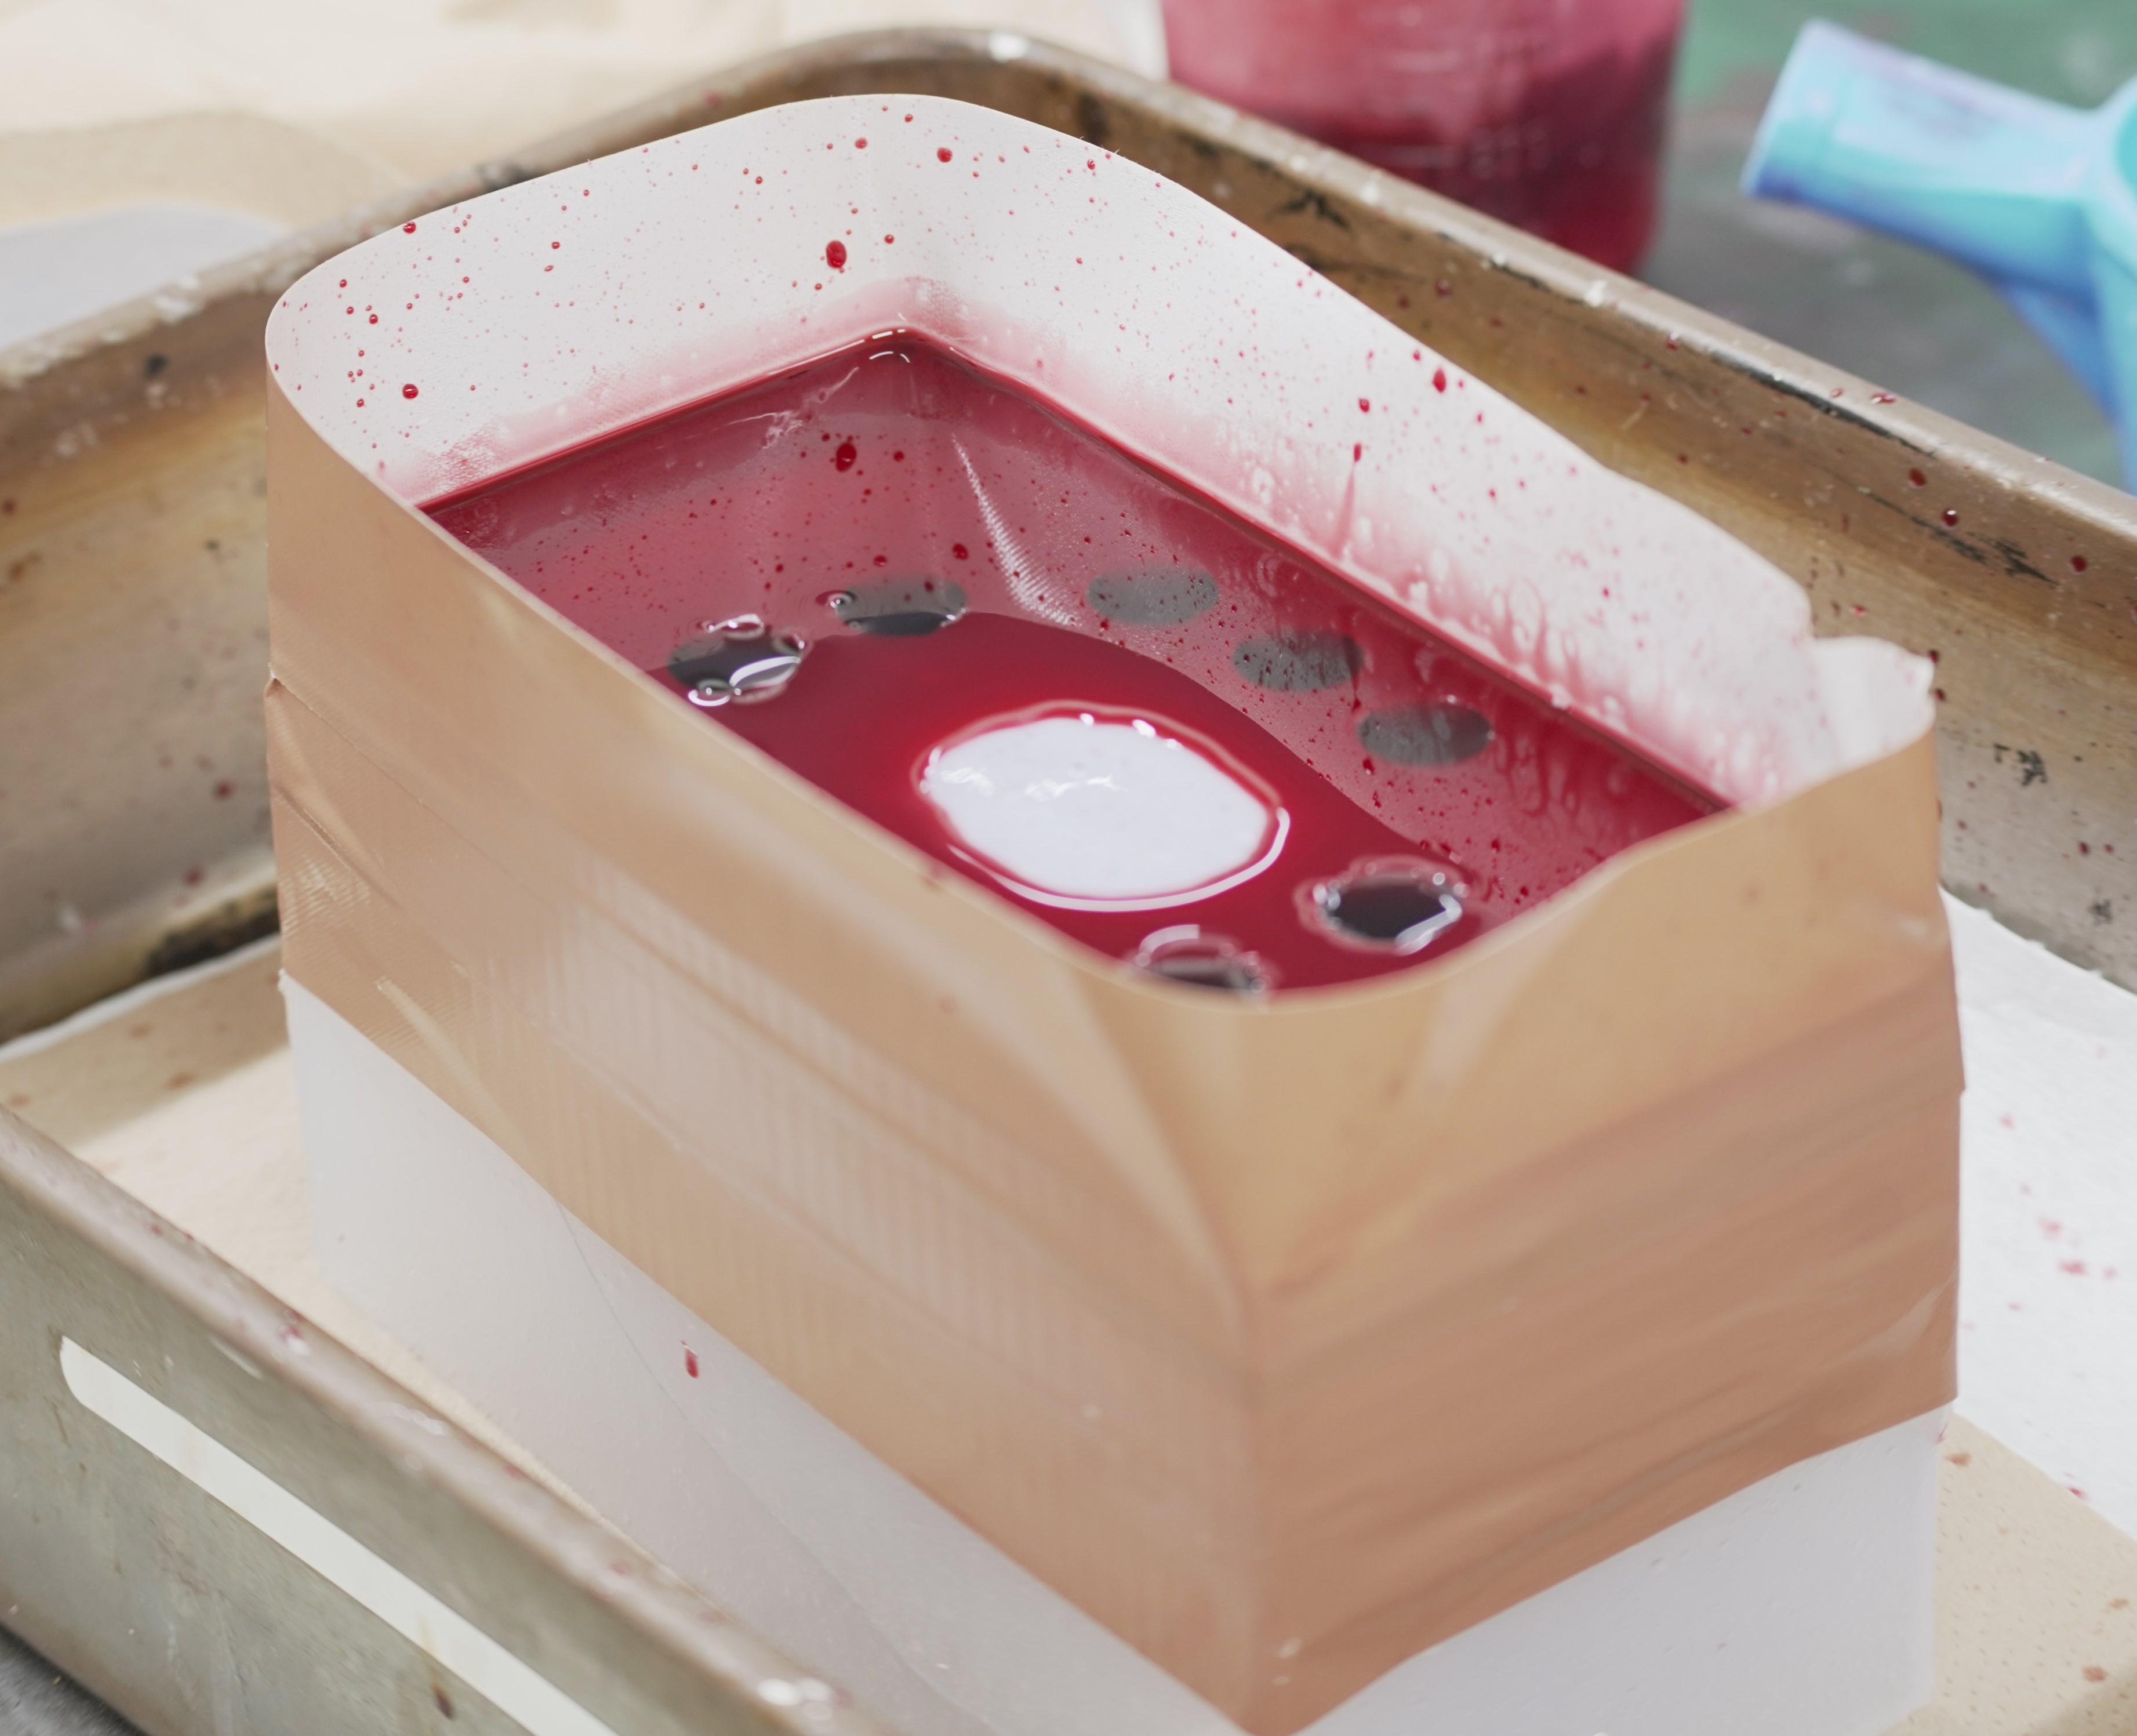
Tanaka faced another major hurdle in reproducing the lamps: the plastic color. For the tail lamp and turn signal covers, he wanted to get as close as possible to the original colors.
Seeking advice from various people inside and outside the company, Tanaka worked to replicate these original tones.
Eventually, by tweaking the amount of coloring material mixed into the resin in 0.1-gram increments, he succeeded in reproducing the original tail lamp and turn signal hues.
Discovering the division’s tradition and brilliance
Thanks to the efforts and assistance of the Raw Material Development Division’s junior members, the team was able to create decorative metal parts and lamps that surpassed even the quality of the originals. Without their input, this would have been an impossible mission.
And for those young employees, this experience provided an invaluable opportunity to reassess their own skills and techniques.
Nagato
As part of the Raw Material Development Division, we’re regularly in touch with Motoki and the other casting experts about making molds. Still, we may not have much contact individually since the personnel change at each step of the process.
For this project, however, the chance to work with Motoki and the others gave me experiences that I would never have in my daily work, and I learned a lot that I didn’t know before. I want to make sure that I share what I have gained with those who come after me.
As for Shudo, the person who enlisted the Raw Material Development Division’s help, this experience provided an opportunity to reflect on the work he has done since joining the company.
Shudo
Rather than processing existing items, the Raw Material Development Division’s strength is that it can make things straight from raw materials; that is, starting from scratch.
I’ve been working in this field ever since joining Toyota, and I was happy and proud that this project allowed me to rediscover the brilliance of these technologies.
The people who worked on the first-generation Crown some 70 years ago were driven by the desire to make ever-better products. Their passion for monozukuri has been inherited by Shudo and his fellow project members, who in turn passed it down to a younger generation that will shape Toyota’s future.
This passion will no doubt give birth to something as groundbreaking as the first-generation Crown.
(Text: Yasuhito Shibuya)